Chevron Wreath Tutorial Including Videos

chevron wreath pattern familybringsjoy.comFirst up, you’ll need a template.  Click here to print your template on card stock.  If you missed yesterday’s post with photos of wreaths, you can see them at the end of this post.

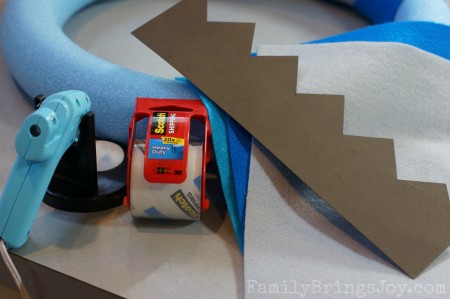
Here are the supplies you’ll need:

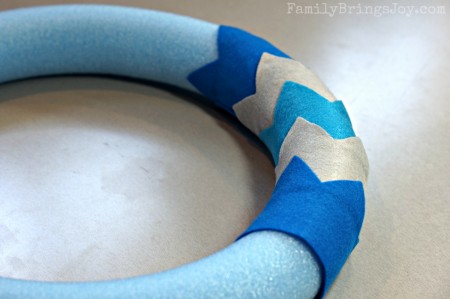
  • pool noodle and heavy duty shipping tape to make the wreath form
  • scissors (not shown in photo)
  • felt sheets of however many colors you want (see below for how many)
  • hot glue gun
  • above template

chevron wreath supplies familybringsjoy.com

I decided to make a tutorial video for this.  There are 3 parts or 3 videos to the tutorial.  Here’s my disclaimer…It was me, my camera and tripod.  Unfortunately, there will be times where you might not see what I’m referring to {mainly in part 2.}  Please don’t hold that against me. 😉  Hopefully you’ll still be able to understand.

If you don’t glue the chevron pieces too close together you will need 4 sheets of felt of 2 colors {total of 8 sheets, 4 of each color} and 3 sheets of felt for 3 colors {total of 9 sheets, 3 of each color.}  If you like the chevron pieces to not be spaced out as much, then you will need to cut more pieces.  The tracing and cutting process is what takes the longest.  I allotted an hour for this class but should have allotted at least an hour and a half or maybe two hours.

 felt chevron pieces for wreath familybringsjoy.com


beginning of chevron wreath familybringsjoy.com

I apologize profusely for the horrible clicking sound in the background of the video. I found it rather annoying myself.  It is the sound my camera makes when it is auto focusing.  I didn’t realize you would be able to hear that.  I now know to turn off the auto focus before videoing.  So sorry…hope you can overlook that, if not, feel free to mute the volume.  Oh and the chime you hear occasionally was my phone notifying me of a text. 😉

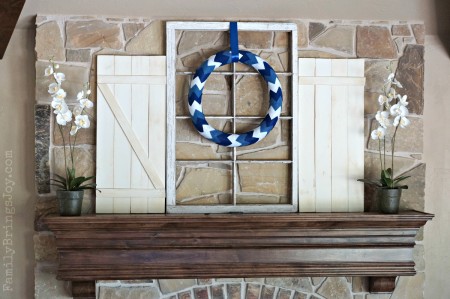
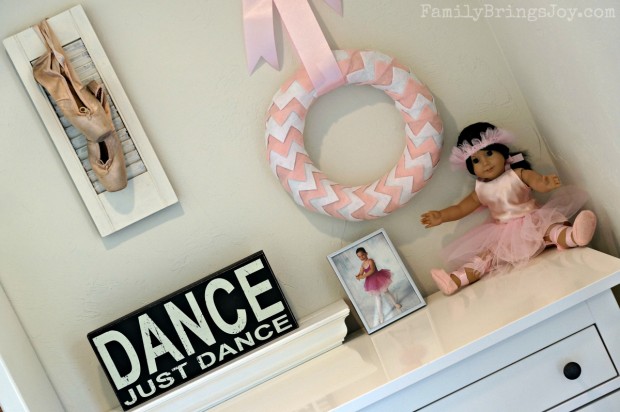
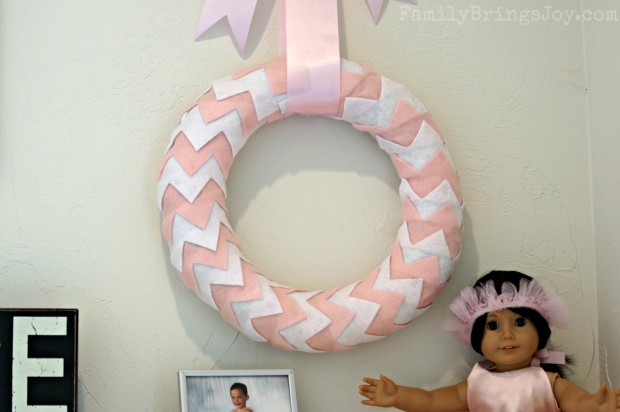
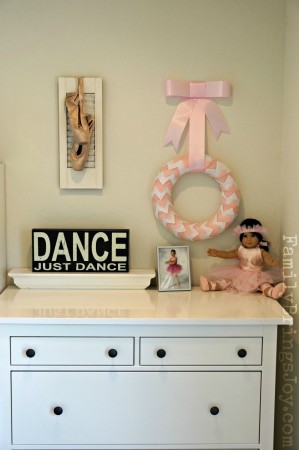
Again, here are my chevron wreaths finished hung up in our home:
pink and white chevron wreath familybringsjoy.com smaller size

blue and white chevron wreath familybringsjoy.com

Tomorrow I’m sharing photos from the class with all the different wreaths everyone made.  They turned out super cute!  Thanks for joining me for this tutorial.  I hope you have fun making one.  Let me know if you have any questions.  I’m off to pick up kids from school.  Have a beautiful day!

Beautify for less,
Chevron Wreath Crazy

Look what I taught for my craft class on Saturday…
pink and white chevron wreath familybringsjoy.com smaller size

Those are my old pointe ballet shoes, BTW. 😉  I love sharing my passion of dance with my daughter.

pink and white chevron wreath familybringsjoy.com small size

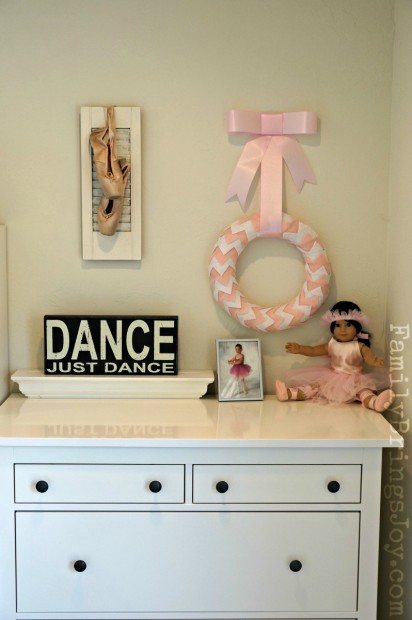
I made this pink and white chevron wreath for my youngest daughter.  We are in the process of redecorating her room.  I surprised her with this little vignette on top of her dresser today.

close up of pink and white chevron wreath familybringsjoy.com

blue and white chevron wreath familybringsjoy.com

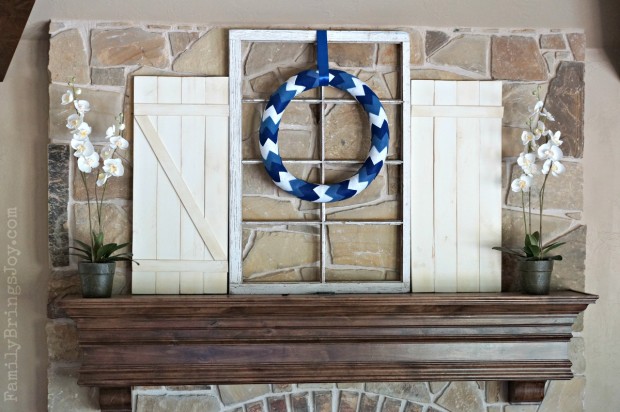
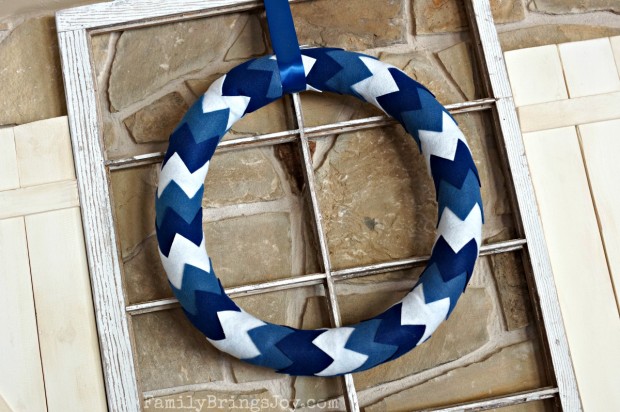
I made this blue and white chevron wreath for my oldest daughter to take with her to college.  It’s done in BYU colors of course. 😉  This will be the base for the special graduation mantel I’ll be putting together soon.  Only 17 more days until my first born graduates from high school!  Been super busy preparing for all our family {from out of state} coming to see her graduate and celebrate with us.  Just ordered a pergola and new outdoor furniture for the backyard patio.  {I’ll have to share pics of the furniture in a future post.}  Last year we extended the concrete outside our pool yet it’s sat there all blank and empty.  It’s easier on my nerves to spend a smaller amount of money at a time.  One of these days we’ll have a fence around the perimeter of our house.  The shade from the pergola and new comfy outdoor furniture should be the perfect setting for a family graduation celebration.

close up of blue and white chevron wreath familybringsjoy.com

I know I sound like a broken record…I’m insanely busy…to the point that it’s a miracle my depression hasn’t crept back.  I’m so grateful it hasn’t and pray the overwhelming monster stays away.  The reason I bring this up, yet again, is because I promised I would have a tutorial for this chevron wreath today.  Well, I was lucky to get these photos shot for you.  I hope you don’t mind waiting one more day.  Please…

Please come back tomorrow for the chevron wreath tutorial.


Don’t you just love the chevron pattern,

Right Frame of Mind

I’m up early this morning.  Youngest girl is going on a field trip.  She was so excited.  We pulled on her skinny jeans, slid on shoes and tied her scarf.  I should have taken a photo.  After preparing her sack lunch with a peanut butter sandwich, Cheetos, Oreos and G2, she was off.  DH took the kids to school on his way to work. Thank you hubby.

I’m going running this morning.  After scrounging up my layers of running clothes, including sliding on my compression socks and shoes, I decided to watch an inspirational video to get me in the right frame of mind.  This one was perfect.  I felt compelled to share it with you, my lovely readers today.

Doesn’t that put everything in perspective?
I think so.
Have a beautiful Friday my friends.

Sincerely,

Large Wood Heart for My Front Door

Last week I looked at our undecorated entry way and thought to myself, “I need a heart.”

No, I’m not quoting from the Tin Man (Wizard of Oz)…lol 😉

I envisioned in my mind a simple big rustic wooden heart to go on my front door for Valentine’s Day.

Normally, when I get something in my head like this, the first thing I do is go searching online for it.  Invariably, every time I spend way too much time looking for ‘it’ and never find it.  So instead, I decided to make one!
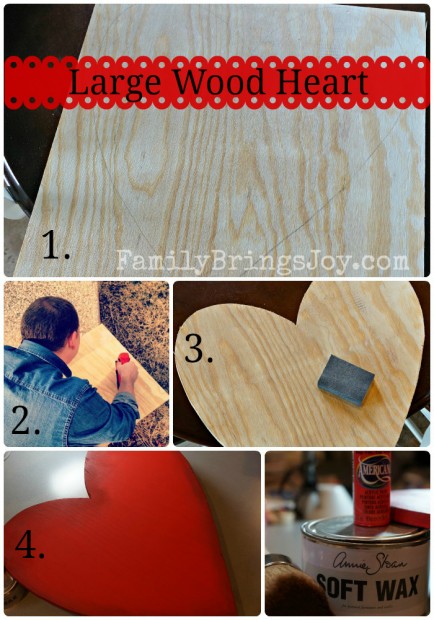
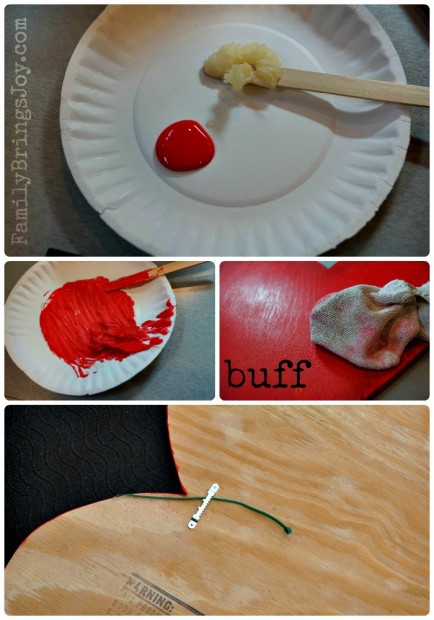
2 Beginnings of Wood Heart familybringsjoy.com

4. I painted and added a little of Annie Sloan’s Dark (Brown) wax to give dimension and have a subtle rustic look to it.

keys to add texture familybringsjoy.com

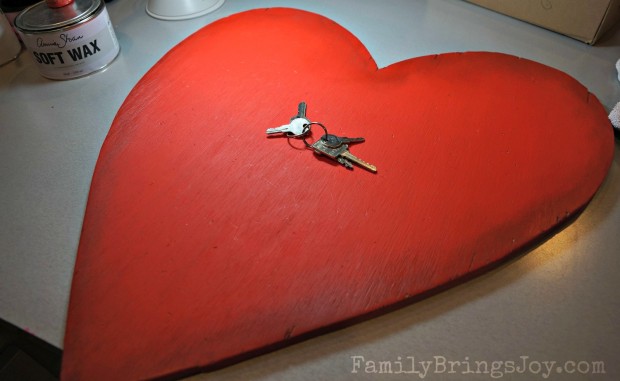
To add to the rustic look I took keys and banged them on the painted heart.

I decided to sand the heart again after I got my frustrations out by throwing the keys over & over on the heart.  I wanted a little of the original light wood to show through around the edges.  I ran into a slight hiccup when I decided to sand over the top of the heart as well.  I explained and showed on the following videos {very amateur videos} what happened and how I was to remedy the problem without repainting it all over again:


Next part of making wood heart familybringsjoy.com

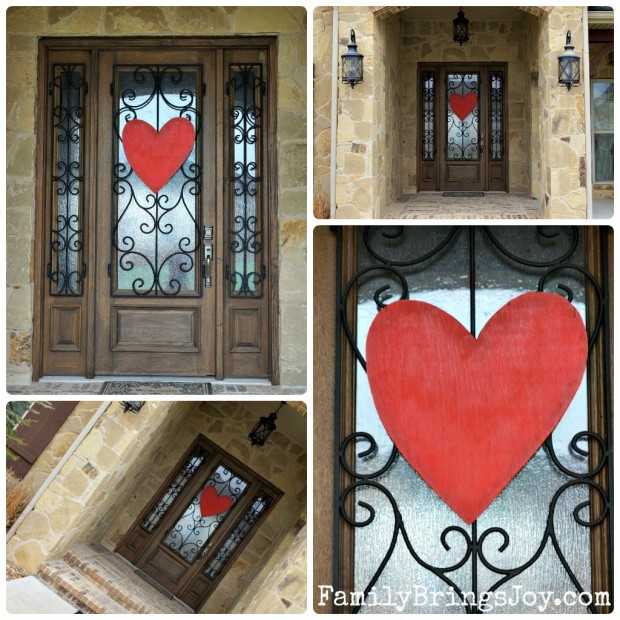
Final Wood Heart on door familybringsjoy.com

My Son says it’s “tacky.”  What do you think?

I heart Valentine’s Day,

A JOYful Christmas Mantel

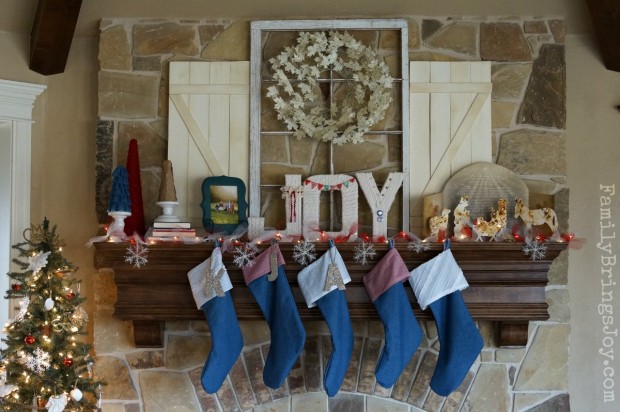
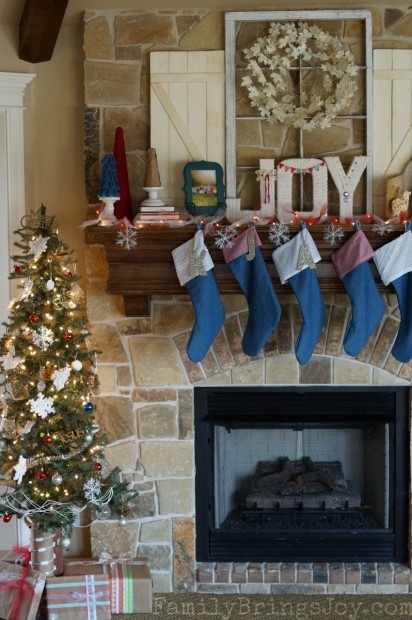
I hope everyone had a safe and lovely Christmas!Christmas Mantel 1 familybringsjoy.com

One of my favorite sayings is “Better late than never.”

Christmas time requires more than what we normally do on a day to day basis.  I apologize for not being able to post these photos before Christmas.

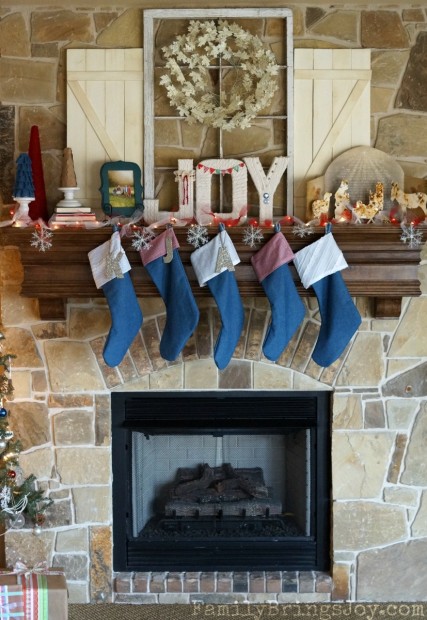
Welcome to our home for Christmas 2012…

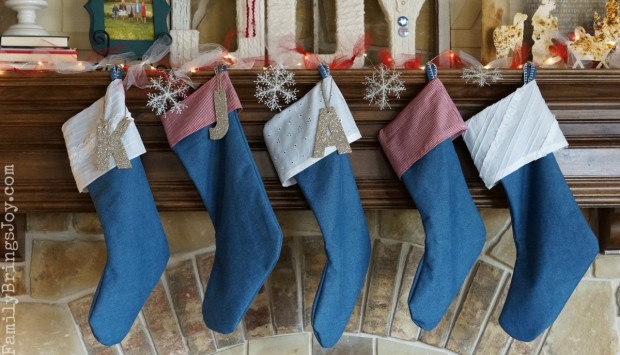
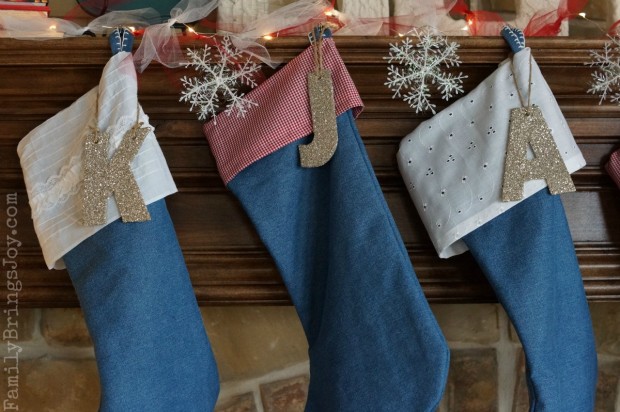
Christmas Stockings familybringsjoy.com

I got a wild hair and decided to make some new Christmas stockings this year.  I almost bought some burlap stockings but decided denim was more me.

I couldn’t find any online I liked so why not make them?

Kid's Christmas Stockings familybringsjoy

I took my pattern off our old stockings on size.  I figured out how to do a cuff based on the old ones as well, but decided to make them all different.  The red gingham ones are the boys.  The white cuffed ones are the girls.  It took me longer to blanket stitch the loop hangers than it did for me to make all 5 stockings.  I still think it was worth it, though. 😉  I bought the letters/ornaments at Pottery Barn to place on the kid’s packages.  I decided they looked cute on the stockings and wished I would have bought one for me and the mr.  {Thus the 2 stockings without initials on them}

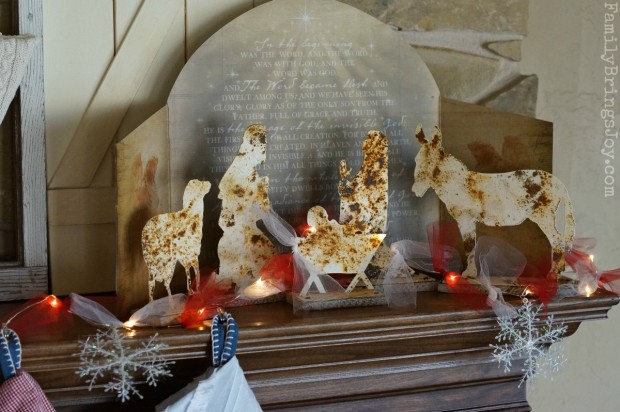
Nativity 2 familybringsjoy.com

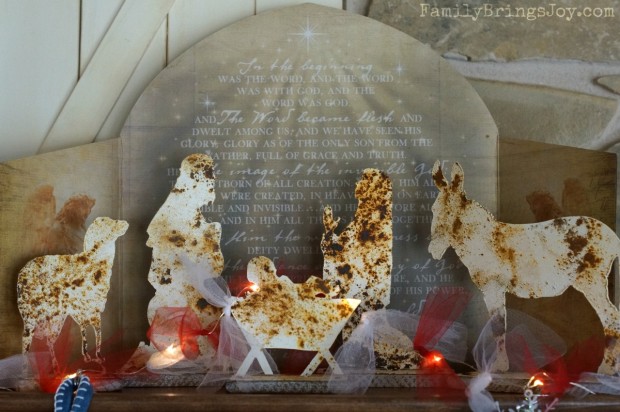
I was so excited to find this unique nativity at a holiday bazaar I went to with my Mom.  It’s made out of metal and came with the pretty background.  You can find one of these at EverThineHome.com

Nativity familybringsjoy.com

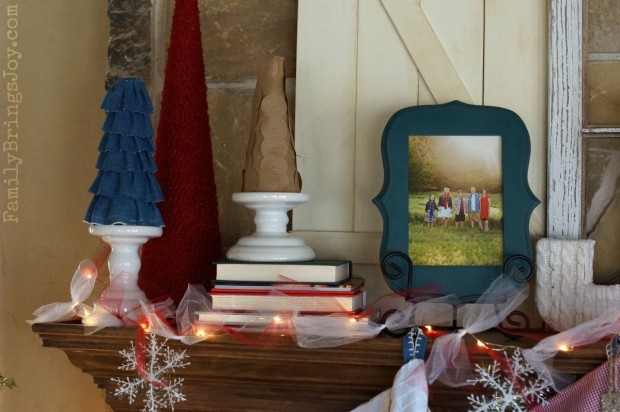
I channeled a little creativity by covering up some Styrofoam trees {below}.  I used denim scraps left over from making the stockings to ruffle around one of the trees.  It was as simple as using pins and hot glue.  I covered the large tree by wrapping it with red yarn.  The smallest tree was decorated by using kraft wrapping paper.  I used my circle punch and pinned the circles on the tree.

Trees familybringsjoy.com

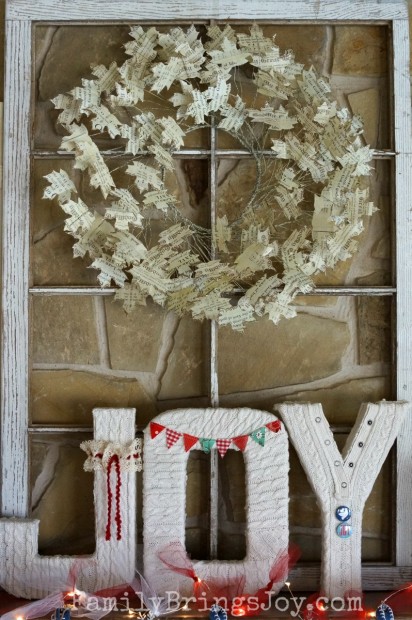
The wreath below was also purchased at the Ever Thine Home booth I spoke of earlier.  I love how the leaves are made out of hymns.

JOY with wreath familybringsjoy.com

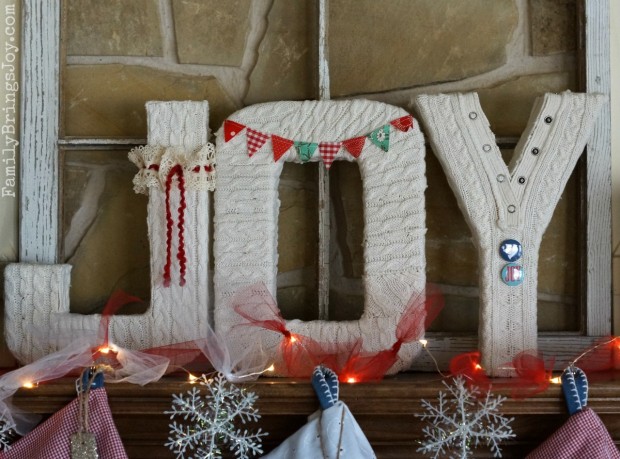
The JOY letters are the ones I decorated with sweater material at Whatever Craft Weekend.  I changed the embellishments to be more Christmas like.  Thanks to A Cottage Life I used her mini bunting she gave as swag for Whatever Craft Weekend on the O.  On the J I used the same red yarn I used to wrap around the tree and a couple of cute pins JCPenney’s was handing out this year for the Y.  I saved the old window frame I bought at the barn while at Whatever Craft Weekend just for this Christmas mantel.

JOY letters familybringsjoy.com

At the last minute I decided to make the lighted garland.  I added red and white tulle to a battery operated led light strand…just tied them on.  I tied a few snowflake ornaments {12 for $1 at Dollar Tree} to complete the look.

Christmas Mantel 3 familybringsjoy.com

Christmas Mantel 4 familybringsjoy.com

So glad you stopped by! :)

Let there be JOY,

Writing From My Heart

writing from the heart familybringsjoy.comThis morning I woke early to help my oldest finish gifts for her friends.  She wanted to make them Oreo balls.  We stayed up late last night dipping them in chocolate.  We bought cute little Christmas tree jars to put the Oreo balls in.  It was my privilege to place them into the jars this morning after they hardened overnight in the fridge.  They turned out beautifully.  Carefully, I placed the 8 jars in a bag filled with shredded paper to cushion and protect them.

It was time for my Daughter to leave for early morning seminary, which is a 50 minute scripture class she goes to at 6:45 AM Monday through Friday before school.  We loaded her trunk with the goodies and she was off.  I trod back into the house to find the goodie box I filled for her photography class.  She was asked to bring some goodies for the Christmas ‘party’ they were having today at her special photography course she takes at the local vocational technical school in the afternoons.  We made a double batch of the Oreo balls so half went into the jars and the other half was for her class.  I also noticed she left her lunch.  Fortunately, her seminary class meets in a home nearby, so I pulled on my jacket and took them to her.  Yes, I was still in my PJ’s, but there was no time to change. 😉

I’m back at the house and now it’s time to get my youngest Daughter up and ready for school.  While she’s dressing I finish placing the last minute touches to her teacher’s gifts.  After packing those up, wonderful Hubby {Thank you!} takes our 2 youngest kids to school.

So here I am still in my PJ’s sipping on my protein shake while I type up this post.

Before I prayed this morning I was mentally tallying all the things that need to be done.  It was yesterday I realized we only had a week before Christmas.  Ya see, I’m not a calendar kind of person, never have been.  I like to take things day by day.  Don’t get me wrong, I have a calendar and I write my appointments on it.  But unless I write a check {I don’t do that very often,} I don’t really know what the date is.  I know what day it is, like I know today is Wednesday, but I have to look at the calendar to see it’s the 19th.  I’m a domestic servant, goddess, diva engineer, why do I need to know the date?  I’m certain it has more to do with my ADD than anything else.  Anyway, like usual, I don’t have everything done I wanted to have done by now.  This prompts the overwhelming monster and I begin to feel my shoulders hardening and rising to my ears.  I begin to start the shame wheel and nothing good comes by doing that.  So I took a deep breath and began to pray…

As I prayed I counted my blessings and thanked my Heavenly Father for each one.  One by one I began to feel the tension and stress melt away.  Most of my concerns are trivial in the grand scheme of things.  Instead of the shame wheel and ‘bad me’ recording I was hearing before I prayed, God began to show me in my mind the things I have accomplished.  He made me see the tasks I have done and know they do matter.  On top of that, He made me feel as though I can accomplish what’s left on my list, if not today, in plenty of time before Christmas.  Oh how grateful I am for His tender mercies.  Nobody knows me like He does.  Nobody understands what it’s like to be me besides my Savior and Creator.

Writing from my heart,