 Book club where I live is kind of a big deal. Each month it’s hosted at a book club member’s home. The majority of the time, hostesses will decorate according to the book we will be discussing. It’s not mandatory, we just have a lot of creative homemakers in our group. I was excited to host last month. Not only was I able to host, but we read a fantasy book I suggested Fire of the Sea. This is an extra special book as it was written by a dear friend of mine, Lyndsay Johnson. The main character, Aeva, is a mermaid.
Let me take you on a tour through our home.
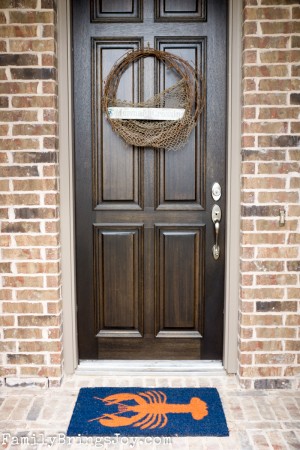
Imagine you are swimming the seas around Iceland.
Do you hear the ocean sounds?
Do you smell the ocean breeze?
Good.  (Door mat from Target)
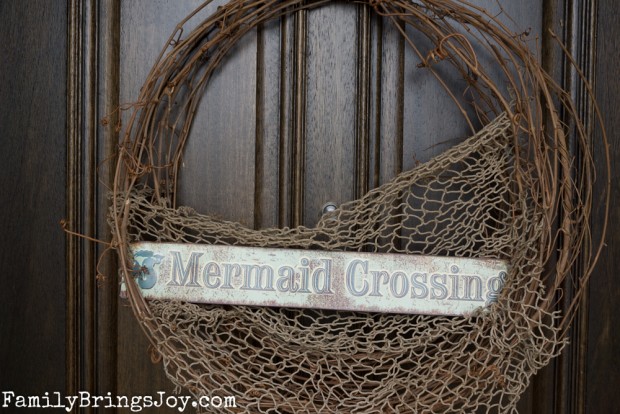
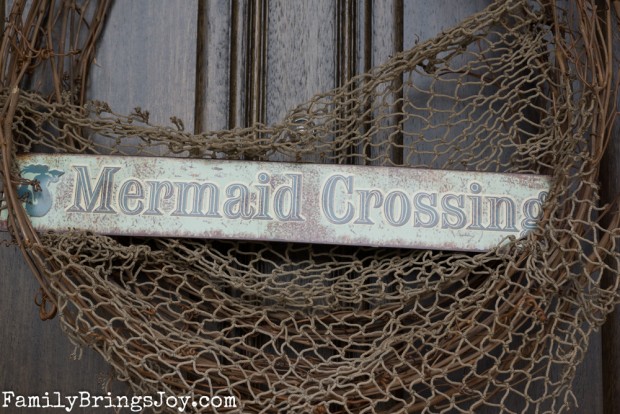
Here, I took an old grapevine wreath I’ve used countless times and added some fishing net (Michaels.) I gently placed the sign (Hobby Lobby) inside the branches. No need to hot glue.
Come on in!
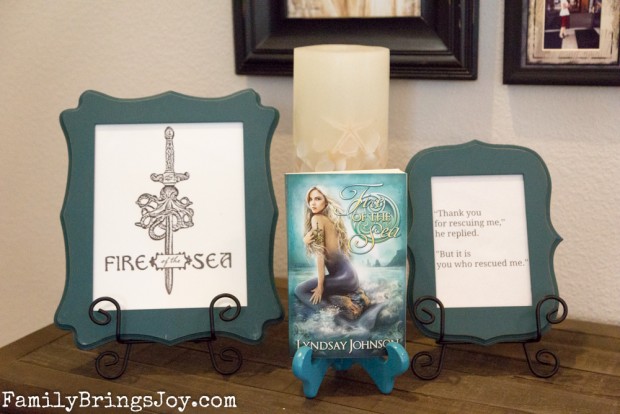
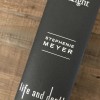
Everything you see here, I already had. I heart coastal decor, so truly I didn’t buy too much decor for this event. I typed up one of my favorite quotes from the book, printed it and put it in a frame. Lyndsay sent me some of her graphic work for the book. I printed it and framed it as well.
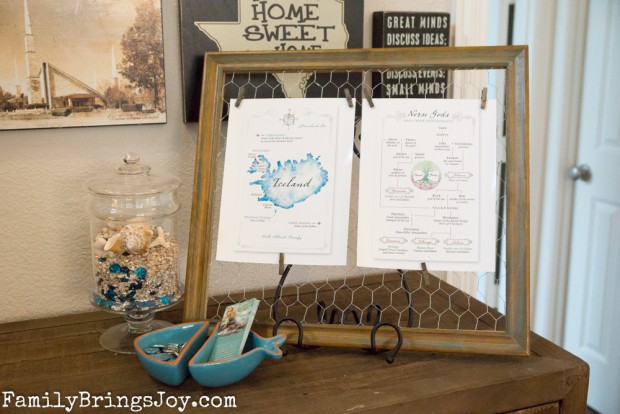
Above, I added more of the book graphics onto this framed chicken wire (Michaels.) The map shows where Aeva’s adventures occur. The second graphic the family history tree of the Norse Gods. I put Lyndsay’s very cute bookmarks and buttons in this cute fish dish (Target.) I made the glass filled sand and shells several years ago.
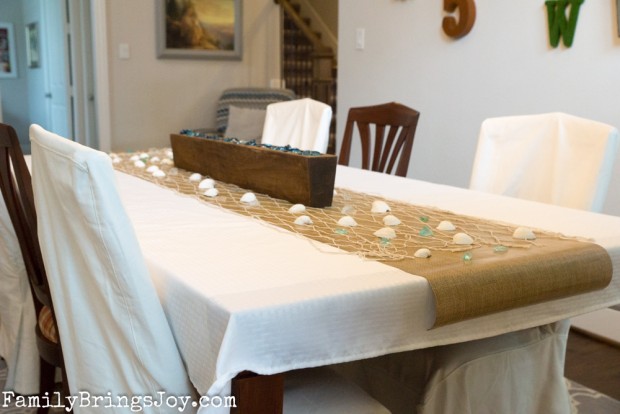
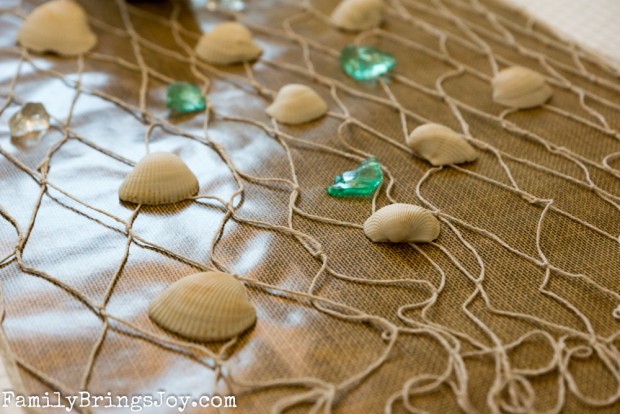
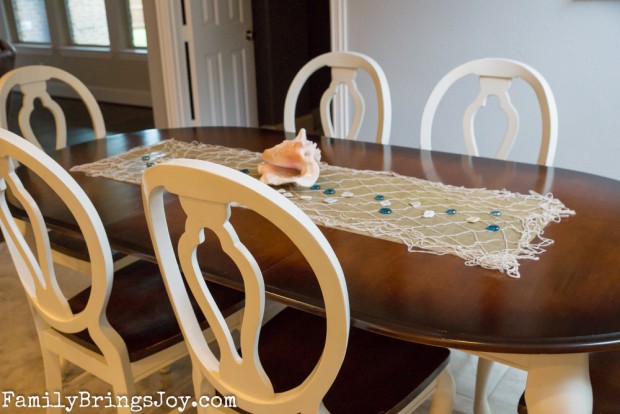
Here in the dining room I used wrapping paper (Michaels) as my base runner. I then added a fish net (Dollar Tree,) shells (Dollar Tree) and sea glass (Michaels.)
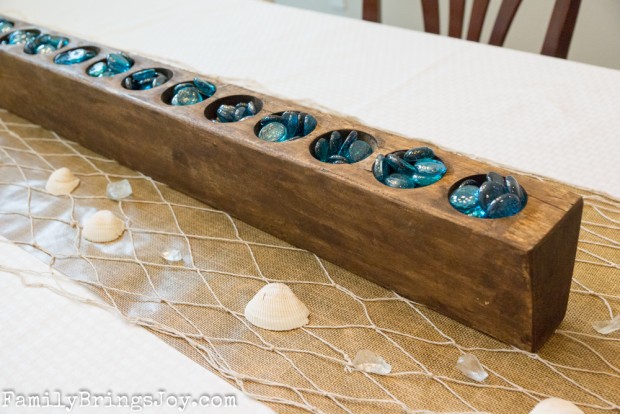
I filled the sugar mold (found at a vintage show) with blue glass beads (Dollar Tree.)
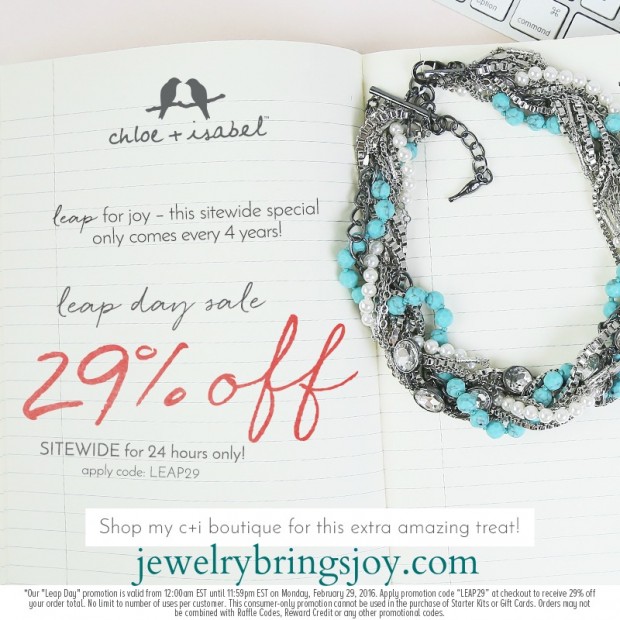
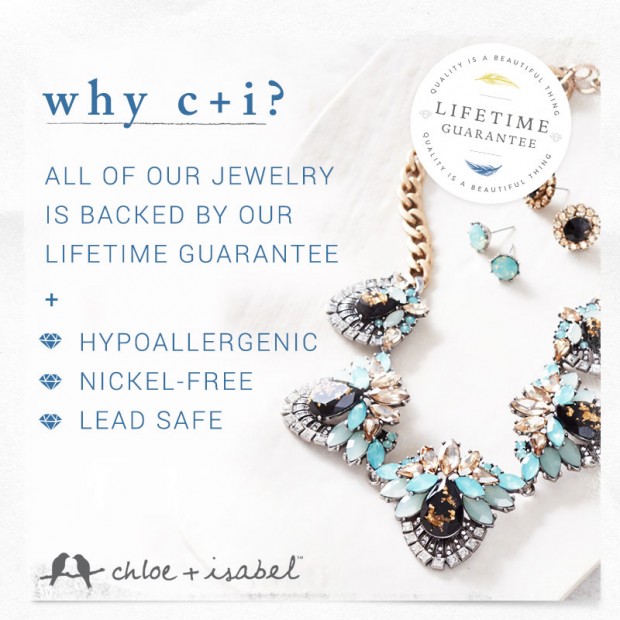
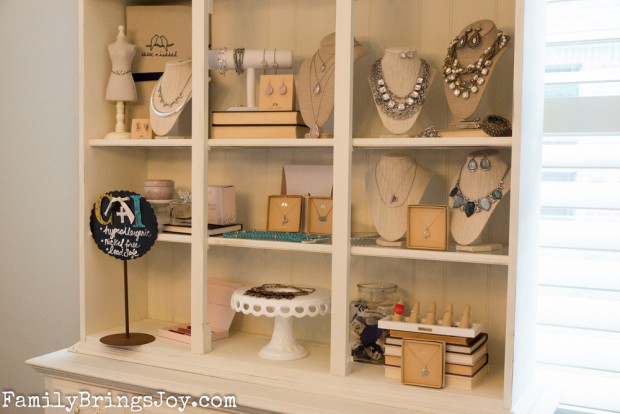 Have to show my china cabinet filled with my lovely Chloe + Isabel jewelry. It’s in there left over from a Pop Up I held in my home.
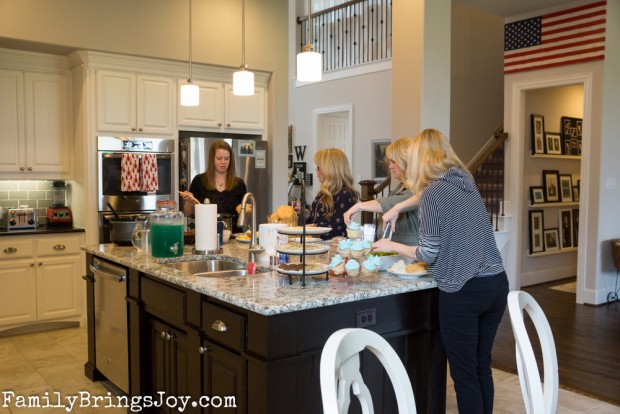
Let’s head to the kitchen
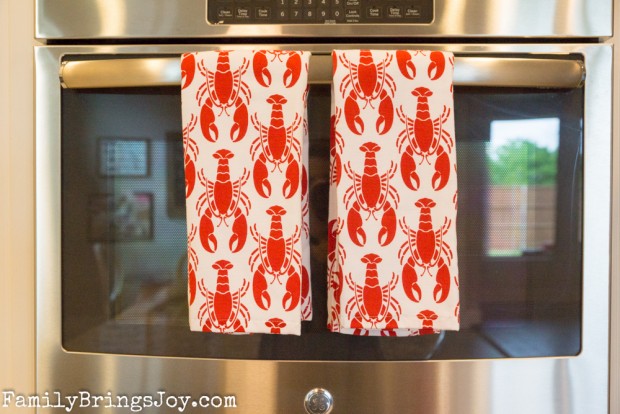
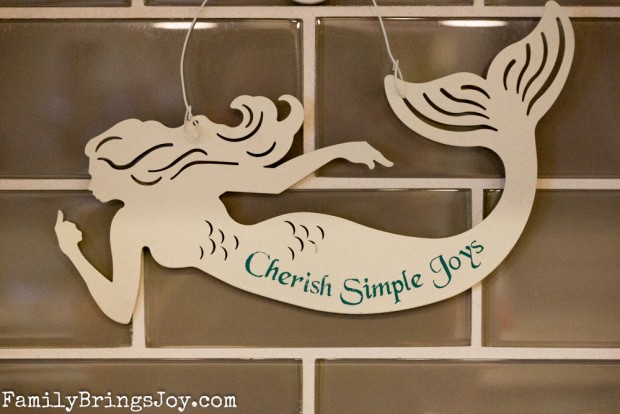
Lobster dish towels & mermaid found at Marshall’s.
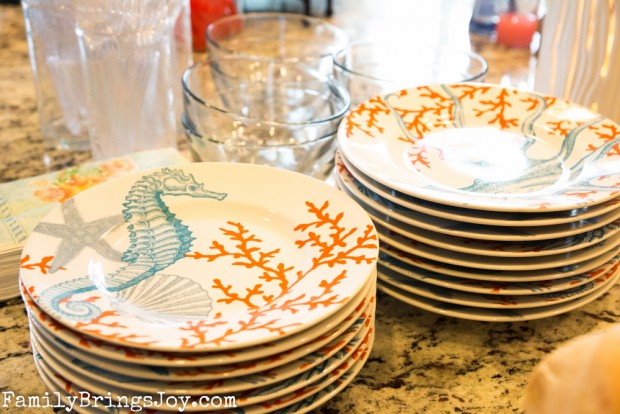 Found these awesome plates also at Marshall’s.
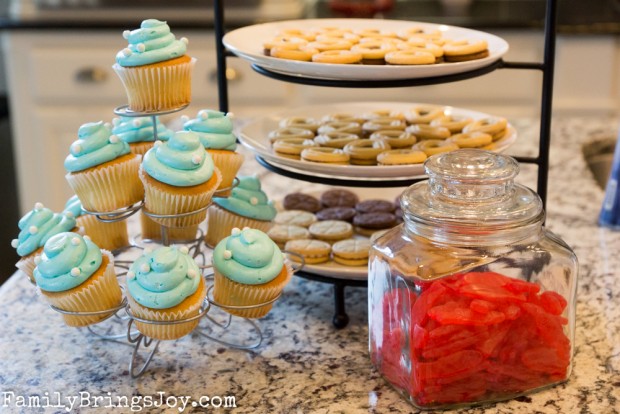 I bought some Scandinavian cookies & Swedish Fish from Ikea…as close to Iceland as I could get. Blue icing cupcakes were bought at Market Street.
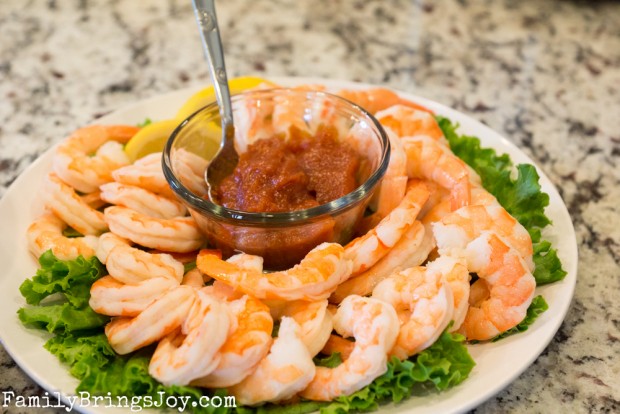
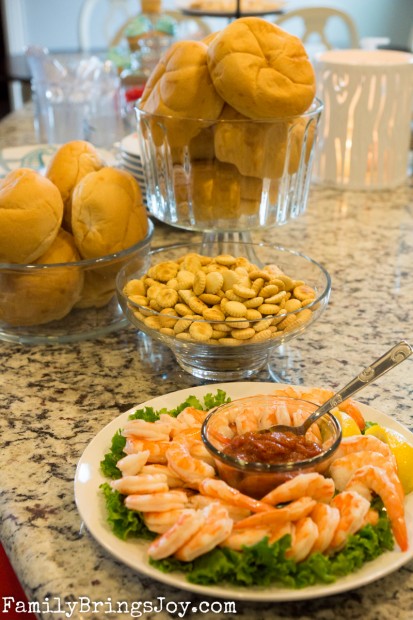 On the lunch menu was clam chowder in bread bowls. Of course we needed some oyster crackers to go in our soup. Shrimp was the perfect appetizer.
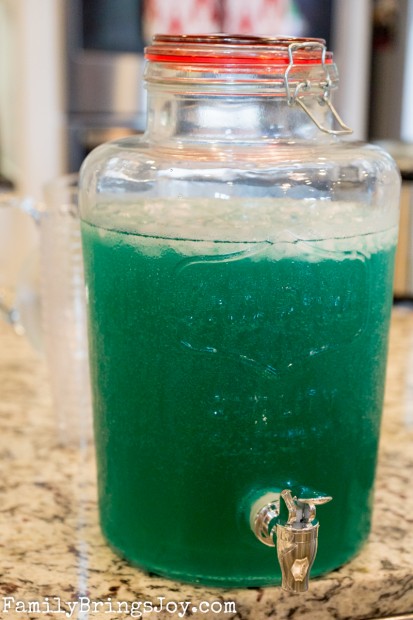
To drink I served ocean water: Lemonade, Gingerale and Blue Hawiian Punch. We all liked it.
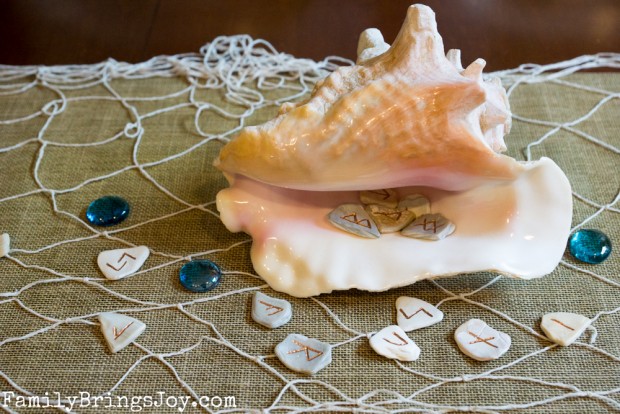
At the kitchen table I also used the wrapping paper, fish net and glass beads. I added one of our Conch shells to the middle.
Inside the Conch shell held some of the runes spoken of in the book. (Lyndsay let me borrow those.)
Below are the first three beautiful women to arrive.

Now come into my living room.
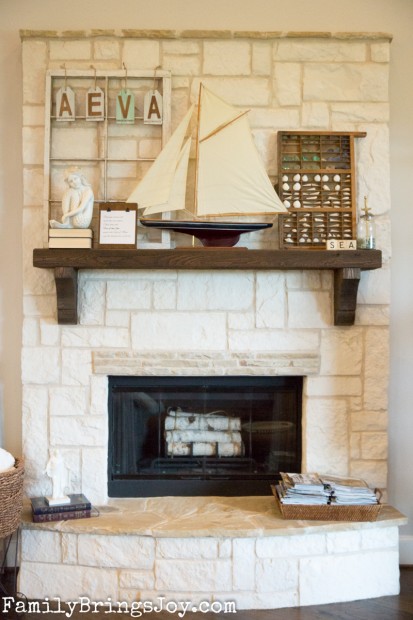
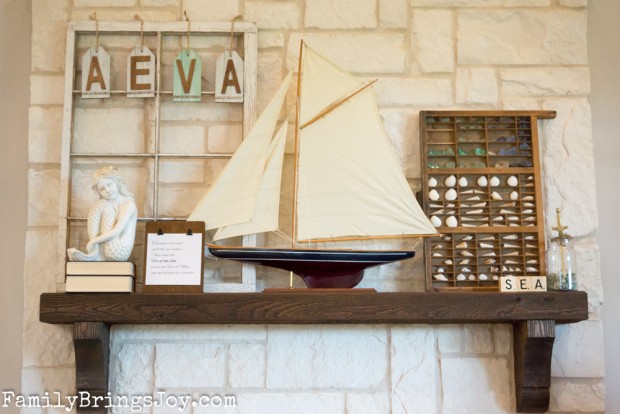
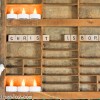
Usually the boat is in our bedroom (bought it several years ago from Hobby Lobby.) I already had the old window and type drawer (bought at an antique barn several years ago.)
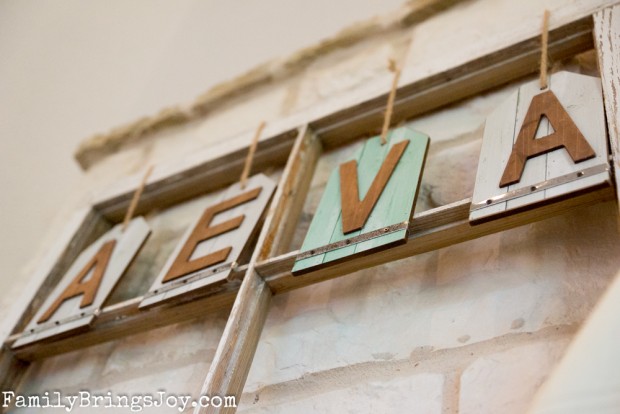
I found these letter tags at Michaels for 50% off and couldn’t refuse.

I was thrilled to find this beautiful mermaid statue at Hobby Lobby. I used my 40% off coupon from the Hobby Lobby app. (You need that app on your phone if you shop at Hobby Lobby a lot.) Again I typed & printed a quote from the book. I added it to this cute frame (Michael’s.)
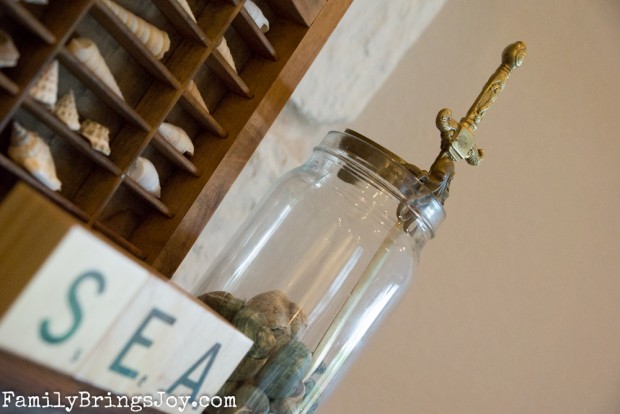
Again, I pulled that jar of green shells out of my bedroom and added Aeva’s arm band Lyndsay loaned me. I fell in love with those big, block “scrabble” letters (Michael’s.)
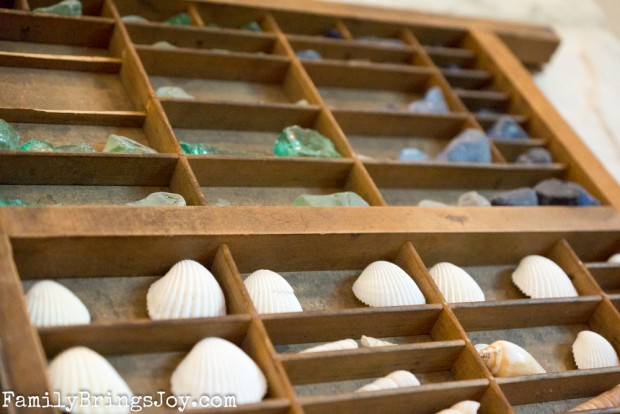
Many of the shells I added to this type face drawer are ones we have collected at beaches we have been to over the years. I will keep this up all summer long. Lyndsay had the brilliant idea to add sea glass (Michael’s) as well. I love the contrast, depth and color it brings to the piece.
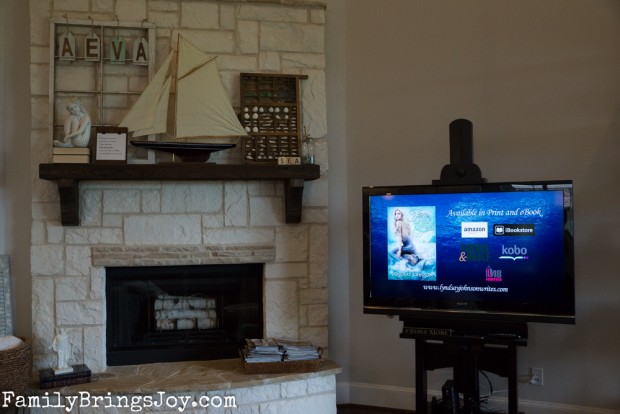
Of course I had to show Lyndsay’s book trailer video too. I shall share it with you now.
Books Bring Joy,


connect