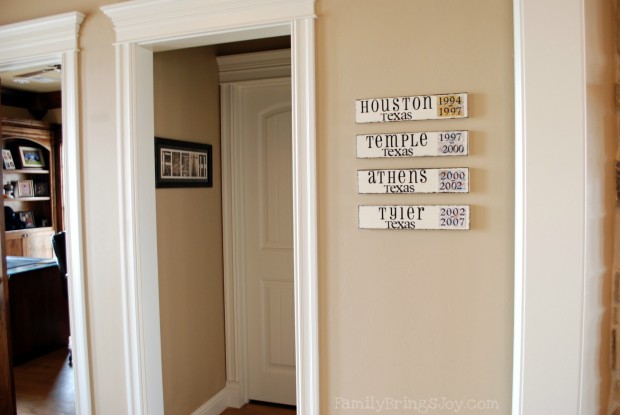
I’m so excited to share with you a project I’ve been working on for the last couple of weeks!
How many places have you lived? Us…in our married life we have lived in 5 places. It’s our family history. Why not memorialize those places, pay tribute, so to speak?
I have a Pinterest Board titled Memory Ideas. I pinned the following idea and fell in love:
Source: manditremayne.blogspot.com via Shan@ on Pinterest
The very funny Mandi {Tidbits from the Tremaynes} reveals she purchased these from L.L.Bean for $34.95 each.
I was up for the challenge to make my own, but as usual tweaked it a bit. I immediately thought of the perfect place for them to go. My entry way needed something special and I’m thrilled with the results.
Want to know how I did it? I was able to use all supplies I currently had on hand, so there weren’t any out of pocket expenses…score!
First, remember the barn door shutters I made?
I had left over board pieces from making the Barn Door Shutters. I pulled those out to begin. They were already painted with my Annie Sloan’s Old White Chalk Paint. This helped me skip the painting step. Next, I decided to add a little black border similar to the L.L.Bean signs.
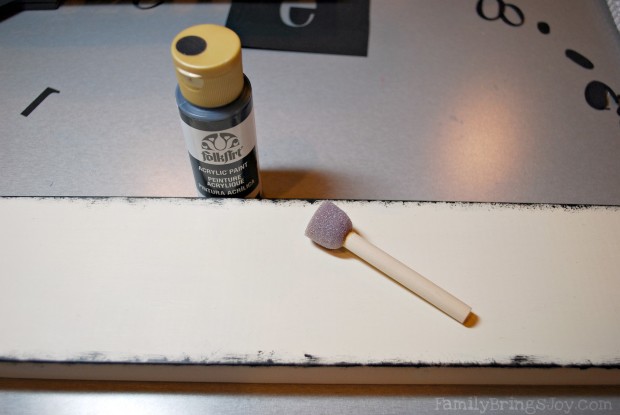
I used a little pouncer sponge brush to lightly brush the edges with black acrylic paint.
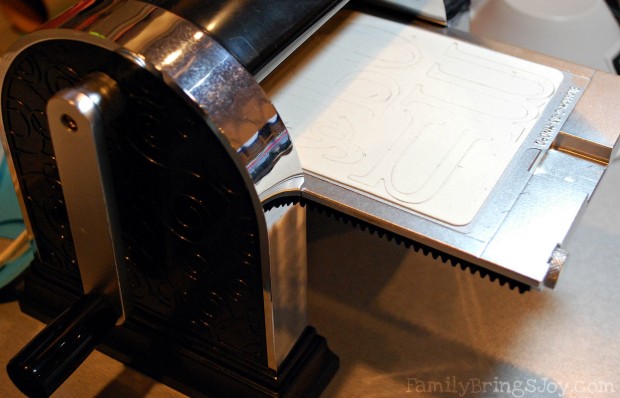
I used QuicKutz’s Revolution to cut out the letters of the city names {12×12 Black Card stock}. The font is Blossom.
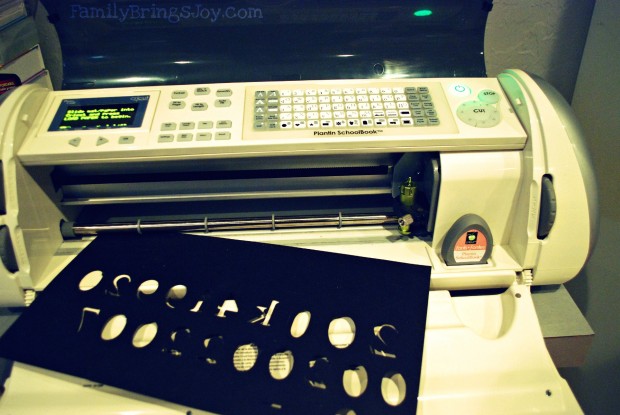
I used the Cricut to cut out the state names and numbers. The Cricut cartridge is Plantin SchoolBook. {1 & 1/4″}
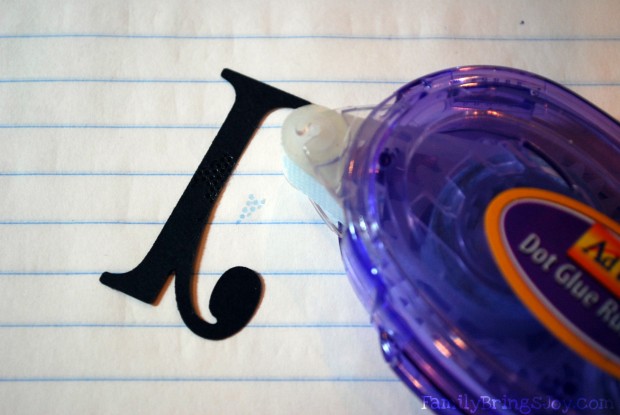
I absolutely LOVE re-positionable dot glue. I use it for almost all of my craft projects. I took the letters and added a small amount of glue. I would then get a ruler and position them straight. It takes a lot of moving around to get it just right, but since the glue is re-positionable it doesn’t hurt anything.
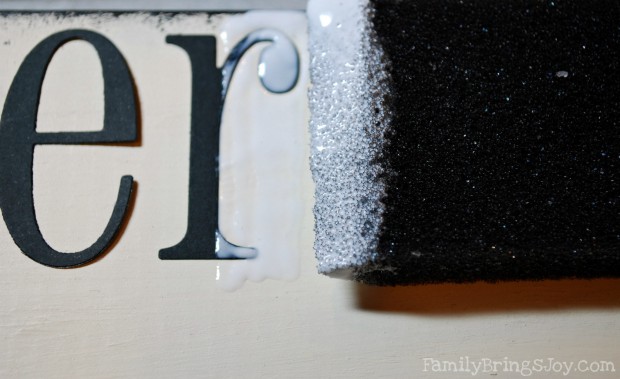
Once I had the letters the way I wanted them, I added the Mod Podge. Since the re-positionable glue is mainly for placement, the best way to add the Mod Podge is to take your foam brush {get a pack of these for a $1 at your dollar store} and dab it gently on top of the letter. This will ensure some of the Mod Podge seeps underneath the letter a tad. Once you have dabbed all over the letter with Mod Podge then you can wipe the Mod Podge gently across the letters without the letters wiggling and getting out of place. I’m sure if you are a pro at using the Cricut with vinyl, there is probably a much easier way to do this, maybe without using Mod Podge. I haven’t expanded my knowledge on cutting vinyl yet. Therefore, this is the method I chose to use.
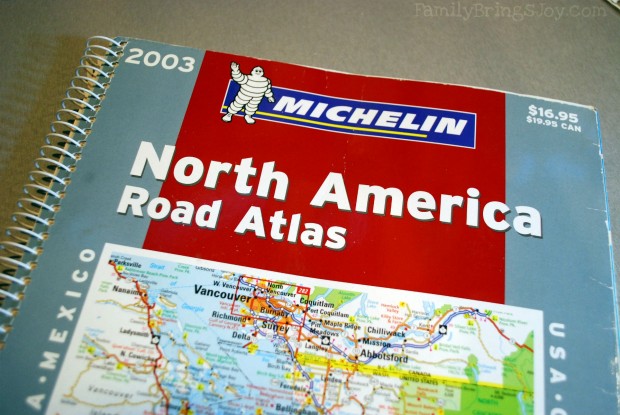
Using Maps for home decor is really popular now and I really like it. I decided to incorporate the map of the city we lived in on the boards. This is how you can take advantage of old maps, now that most of us have GPS. I found it’s a good idea to paint on the Mod Podge before adding the map. I would then take a tool and spread it over the map to get out any bubbles under the map.
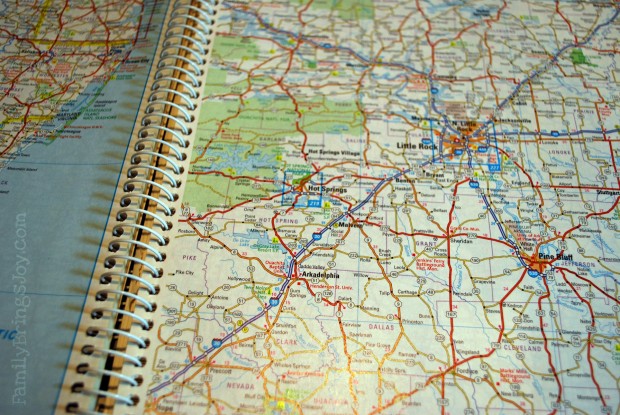
I just tore out the page and cut the map in a rectangle around the city. Instead of using Latitude and Longitude I wanted to have the dates from when we lived in the particular cities. Some of the dates were not exactly centered because I didn’t want to cover up the name of the city on the map with the number. Doesn’t bother me to have it that way. Let the Mod Podge dry on the map before adding the numbers. Dab on the Mod Podge over the numbers just like on the letters. Make sure to spread the Mod Podge over the whole sign in the end.
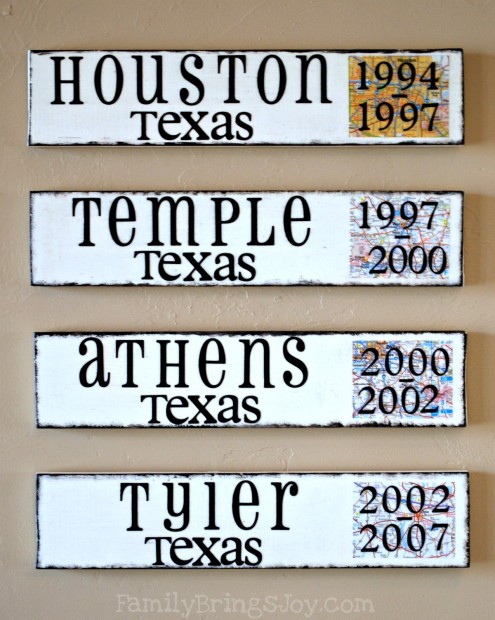
I used Picture & Frame Hanging Command strips to attach the boards to the wall. I LOVE those Command strips. SO much easier than nails…take your level and put it on top of the board and makes for level hanging every time. The last board which represents where we live now was not completed when the photos were taken. I’m adding it to the bottom today. From Pinterest pin to reality. {Doesn’t accomplishment feel GOOD!?}
Here they are in my entry way. Seems like they were meant to be in this space. It was worth the time and effort. ![]() What do you think?
What do you think?

Celebrate where you live,





I love it!!! This is on my “to do” list – I have it pinned several times from several different people. Your’s look fabulous
Stephanie Click recently posted..Project Life 2012 – Week 1
Thank you Stephanie! I can’t wait to see your Project Life. Thanks for visiting me, friend.
We have lived WAY too many places, so think I should start this tradition in our family too! Great idea!
Warmest regards,
Joy
http//www.PardonMyPoppet.com/PipSqueaks
Pardon My Poppet ~ Pip Squeaks from the Mummy-verse!
Joy recently posted..365 Days of Blessings – Day 71 – My Bread Maker
You should! Good to see you again Joy!
I love it and think this was a wonderful idea. You did such a nice job. I didn’t know you had all those machines to use now. That is great. Good job! Love, Mom
A very generous friend of mine gave me the machines! They were hers and she didn’t want them anymore. It’s been fun using them. Thank you, Mom.
I love it! So very cool….
Christie
http://Www.stampshacklady.com
Christie Daugherty recently posted..So you think you can dance?
Christie, this means A LOT coming from one of the most creative and talented ladies I know! Thank you for taking the time to comment! Miss you friend
Those are awesome! I just looked at the LL Bean ones and I definitely like your tons better!!!!! Love the map and the dates, it makes it more personal, instead of a generic sign. I would love to see a picture with the last sign on the wall