Vintage Bridal Shower Part One

Between the blasted heartbleed virus, busy life and editing pictures I’m a little late in posting this.  I apologize.  As a matter of fact, I’m still weeding through which photos I want to share.  I’m down to 42 out of almost 200 photos taken.  Instead of weeding through them again, (and postponing another day) I decided I would split them up.  This post will be the decorations, while tomorrow’s post will be the food table.

You will find I was able to make most of my decorations…

Welcome to my friend’s Vintage Bridal Shower (hosted in our home.)
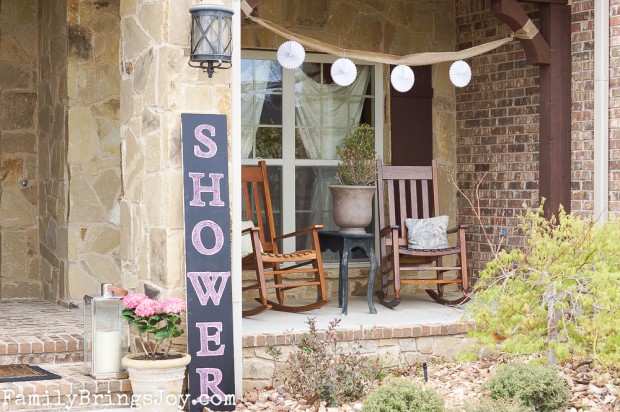
Vintage Bridal Shower Front Porch

The shower sign you see used to be a shelf in one of my kid’s bedrooms.  I shopped in my attic and found the wood board calling my name, “use me!”  I sanded it a bit and used the chalkboard spray paint to paint one side.  I have to confess I don’t draw letters this pretty.  I used my Cricut to make the letters and traced them with chalk.  I liked the idea of using the board as a sign on my front porch.  I can erase the chalk after the shower and write another word for whatever occasion I want.

Front door wreath:
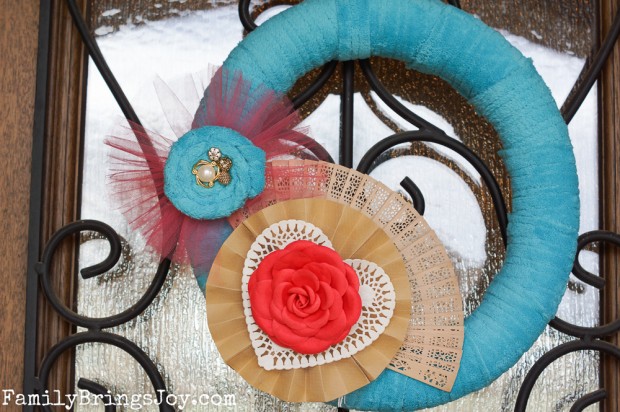
vintage bridal shower wreath

This wreath was made from a pool noodle.  I recycled a soft old blanket that had a whole in it by cutting it up in strips and hot gluing them on the noodle.  I made the blue flower with the blanket and hot glued the buttons on to the center.  I made the pinwheel out of kraft paper.  The wood fan in the background is one of the party favors we gave the guests.

Come on in to the foyer.
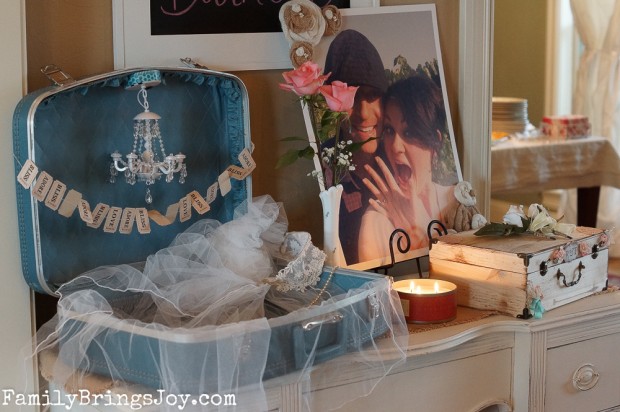
side view of table scape

I finally painted the heirloom desk given to me by my Oma.  I used my favorite paint, Annie Sloan Chalk paint in old white.  The shower helped motivate me to breathe new life into this desk.  I temporarily (for the shower) placed it in the foyer to use as a welcome table.  I made the ticket garland by sewing the tickets together.  I hot glued one of the girls old locker chandeliers which was sitting in my garage to the top of the old suitcase.  The veil was mine.  Tandy’s mom was one of the shower hostesses and she brought Tandy’s card box she plans to use at the wedding as well as their engagement photo.
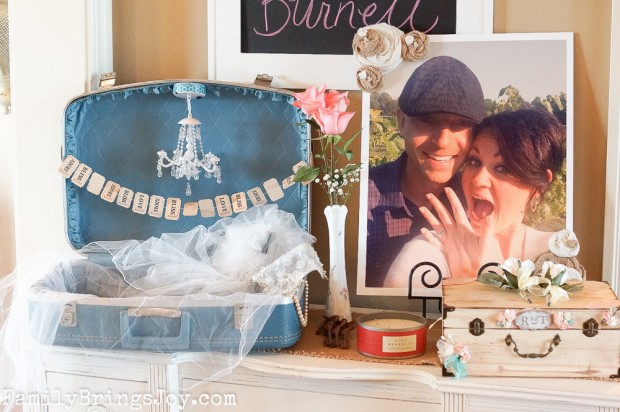
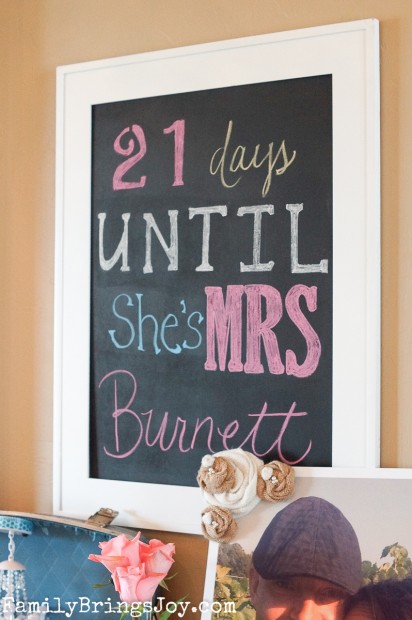
Vintage Bridal Shower tablescape

bridal shower chalkboard sign

To the right of the foyer is the dining room.
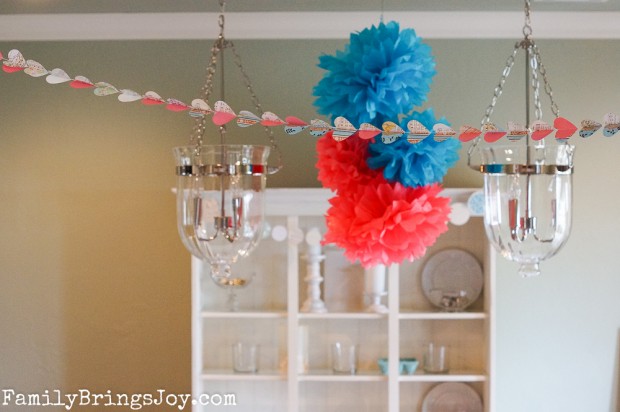
heart garland with pom bouquet

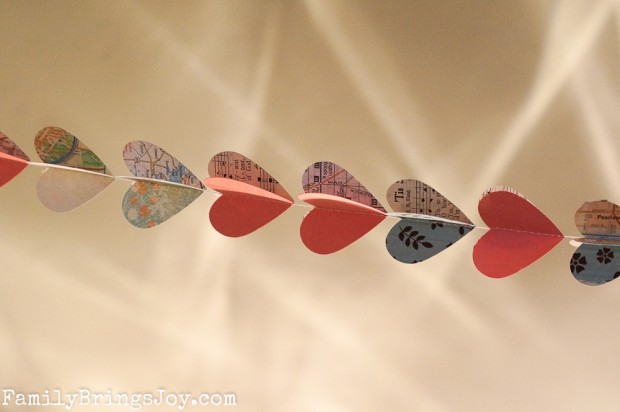
paper heart garland

I made this heart garland with my paper heart punch.  Placed 2 hearts together and sewed them together one after another.  I used scrapbook paper with her colors of coral, turquoise, cream and browns intermixed with (actual) map and music paper for a vintage feel.  When it’s finished you fold back the hearts to give it dimension and voila!  I think this was my favorite garland I made.  I bunched several paper poms together to make a sort of pom bouquet to hang down from the ceiling.
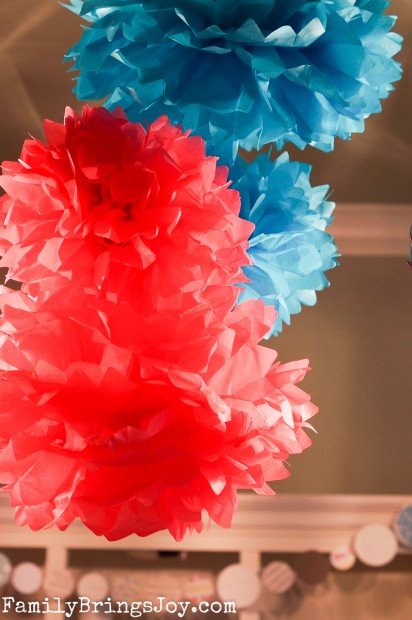
pom bouquet

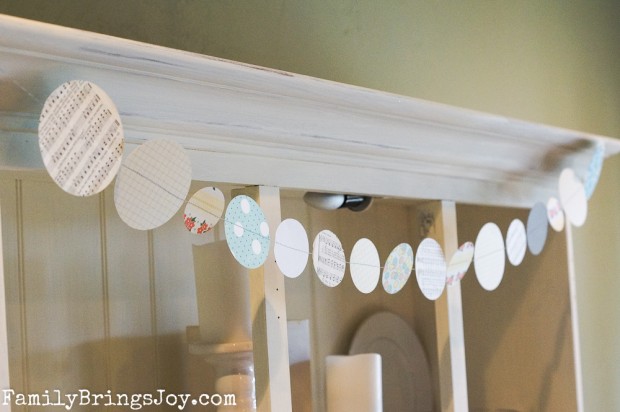
circle garland on china cabinet

In the foyer to the left you see:

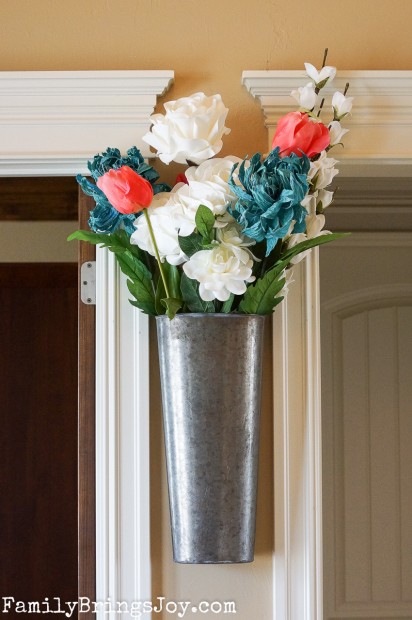
flowers for vintage bridal shower

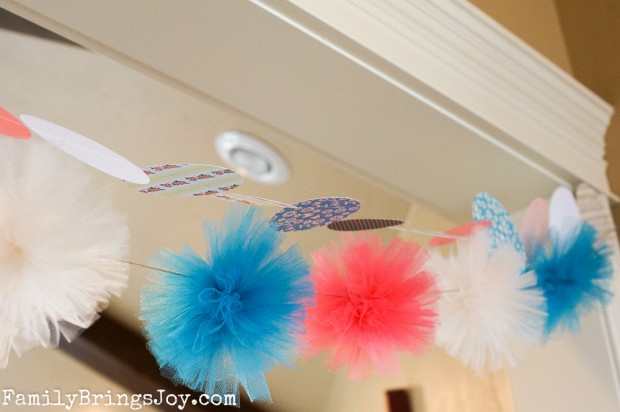
I made the below garlands.  Sewed circles together for the top.  The bottom pom garland was made from tulle and tied onto cord.
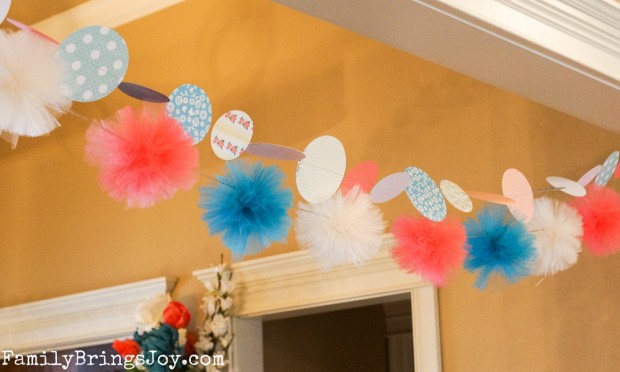
homemade bridal shower garlands

pom garland close up

Both of the above garlands were hanging in the foyer and you saw them as soon as you walked in.

Living Room:
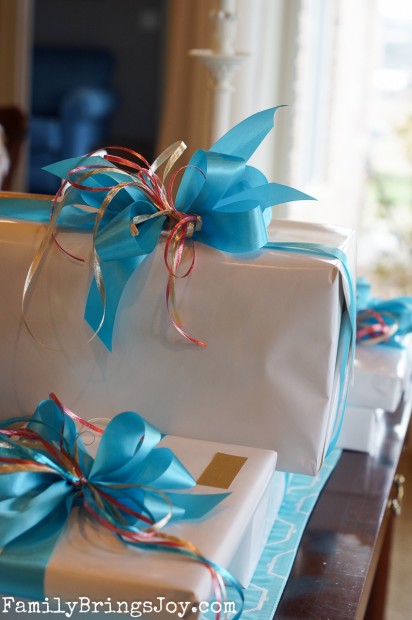
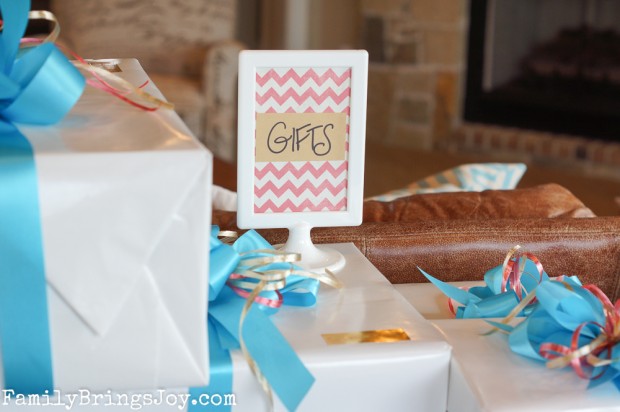
bridal shower gifts

Gifts Table

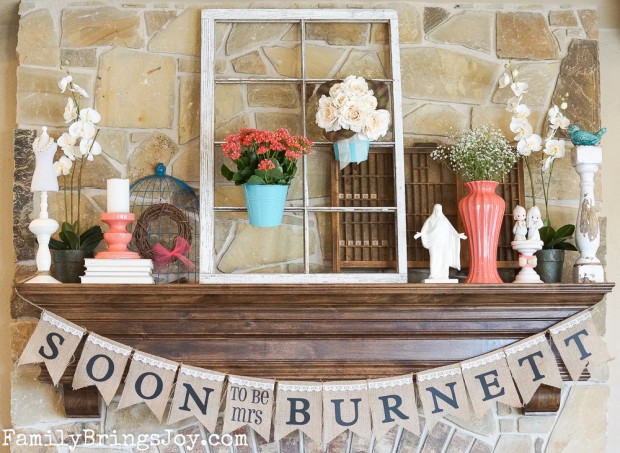
Vintage Bridal Shower Mantel with burlap bunting

I shopped from home for most of what you see here on this mantel.  If you’ve been reading for a while you will recognize many of the items.  I did find the coral candle holder and vase at my favorite local discount store Walls.  The Precious Moments couple was on my wedding cake.  I added some scrabble tiles spelling the bride and grooms names onto the old type setting drawer.  I have a close up of their names on Instagram (@familybringsjoy)  I found the blue hanging pails at Hobby Lobby.  The white flower bouquet is also from Hobby Lobby.  I forgot what the live pink flowers are called in the other blue pail.  I bought the burlap bunting at Hobby Lobby, but I cut out the big letters using my Cricut and the small letters using my QuicKutz.

WARNING: The following garland might shock you:
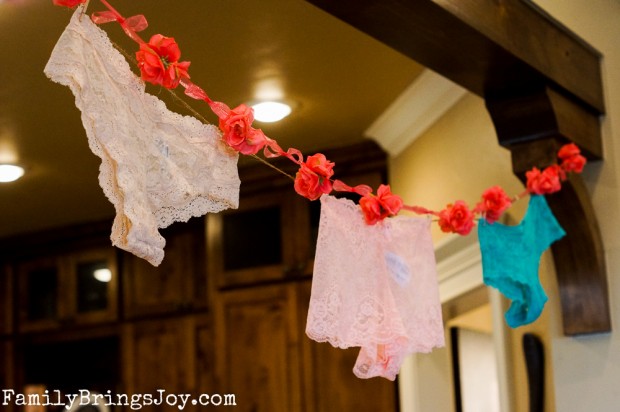
panty garland

The panty garland was hung in between the living room and kitchen.  I thought it was a cute idea and added some great conversation to the shower.  Tandy was happy to take the pretty undies with her.
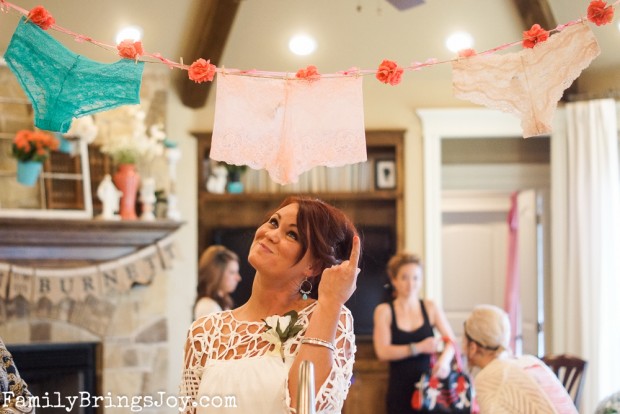
bride to be with panty garland

In between the living room and breakfast room:
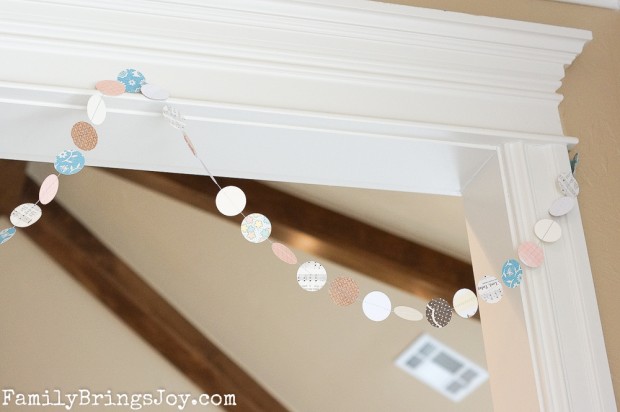
circle garland

I kind of went crazy making the circle garland, but I think it added a special touch.

Me with the beautiful Bride to be:
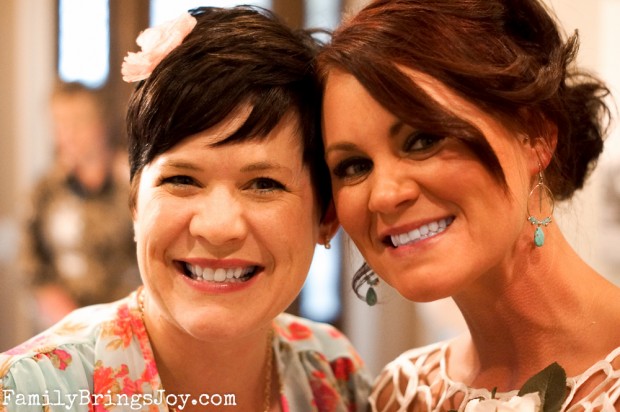
Host and Bride to be

I had so much fun crafting all the decorations for Tandy’s bridal shower. Feel free to pin away and share this post with everyone.  I hope this shower will inspire many more for future celebrations.  Thank you for joining us!  If you have a question, please email me or ask in the comment section of this post.  Only 11 more days until the wedding Tandy!  Come back tomorrow for all of the food we shared. 😀

Celebrating with friends brings joy,
Five Pins You Want On Your Pinboard

I think Pinterest is an awesome way to bookmark ideas we love.

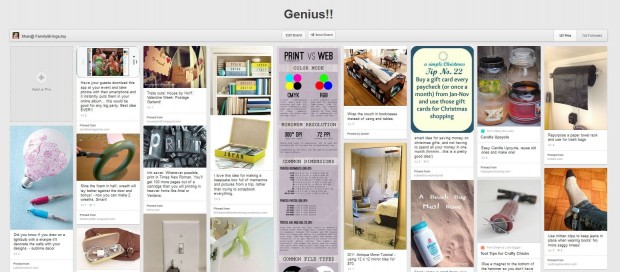
5 genius pins I've used and recommend from familybringsjoy.com

Today I wanted to share 5 pins I have actually used and would recommend.  They happen to be pinned on my Genius pinboard.  Once you see the pins you will realize why I used that title.

Genius

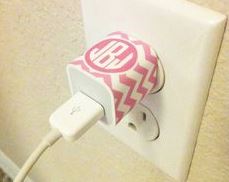
1. Being the creative person I am, I fell in love with using washi tape on our phone chargers.  This way we know whose charger belongs to who and it looks pretty dang cute too!

organization

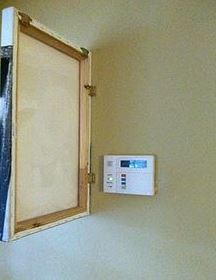
2. A thermostat on the wall is not very pleasing to the eye.  I didn’t use a hinged canvas like you see below, but I did put a wooden sign over an ugly security system pad…looks much better.

hiding your thermostat

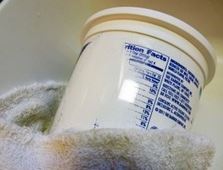
3. The next pin is how to remove all writing off plastic containers to then use as storage or gift containers.  If you have finger nail polish remover in your house or acetone, you’re in business.  Put some on a rag and the writing rubs right off.  It works my friends!

remove writing

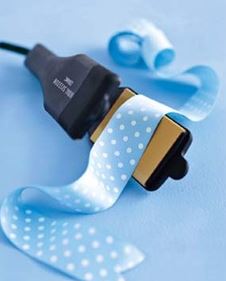
4. Now that I have such short hair I don’t need my straightener anymore…at least not for my hair.  My straightener has found a permanent home in my craft room.  It is absolutely the perfect way to iron wrinkled ribbon.  I love to use ribbon for home decor, scrapbooking, crafting and wrapping gifts.  It makes ironing ribbon a snap!

hair straightener

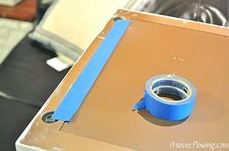
5. If you have been visiting Family Brings Joy for a while now, then you know how much I use blue painters tape.  I use it for so many things but I was delighted to find the following pin.  It has made hanging up those certain frames with the holes in the back a cinch to hang.  Use your tape to put in between the 2 holes.  Then take the tape off the frame and stick it to your wall.  I usually use a level on the tape so I know it will be level.  Then hammer your nails on the ends of the tape.  Pull off the tape and voila you are ready to hang your frame.  It has made my life so much easier!

tape hanging photos

Great Ideas Bring Joy,

2014 Valentine’s Day Mantel

Valentine's Day Mantel 2014 familybringsjoy.com

Greetings!  I told you I had been busy working on our Valentine’s Day mantel.  I’m sharing it with you today.

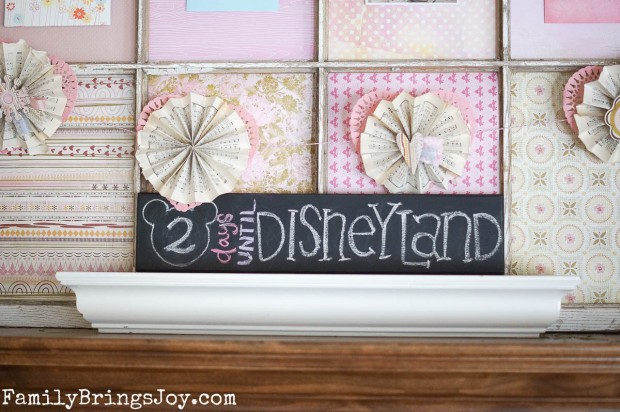
Disney Land countdown board familybringsjoy.com

This Valentine’s Day will be extra magical as we will be at Disney Land! {watch out Insta friends, my Instagram feed will be overflowing}  We realized our youngest, who is almost 11, was only 2 and a half years old the last time we went to Disney World.  She was telling me she doesn’t remember much of that trip and it made me sad.  She is pretty much already a tween but young enough to still love everything Disney.  Kids grow up so fast!  The kids have a long weekend off from school and we are taking advantage of it.  I hear it’s supposed to be a good time to visit the park…not too busy.  We sure will enjoy the little reprieve of snowy, cold weather we’ve been having here.  I checked the weather and it’s supposed to be a high of 81 and low of 50.  Ahhhhh…that sounds nice.  None of us have ever been to Disney Land, so we decided to check it out instead of Disney World this time.  Anyway, so I have sort of a Disney theme going on this year for the mantel.

The board I bought at Hobby Lobby and painted it with chalkboard paint.  I’ve used this board many times on my mantel.  I just erase and write what I want for the occasion.

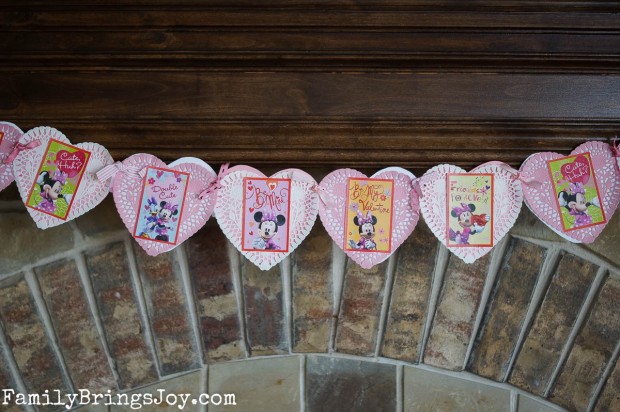
Minnie Mouse Heart Garland familybringsjoy.com

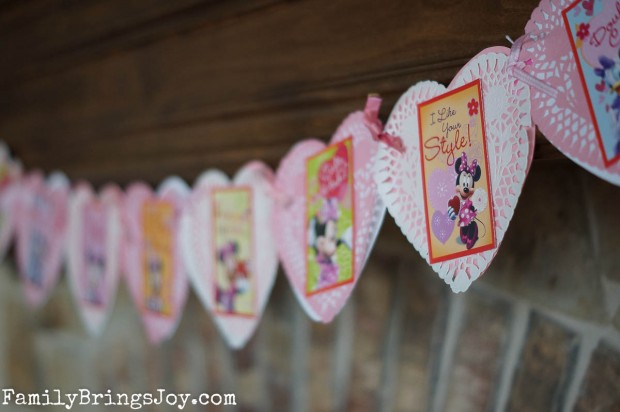
I made this garland initially with just doilies and kids valentines I bought at the dollar store.  I glued them on and used different ribbon to tie them together.  Well, the doilies are a little fragile.  I hung it up and it ripped and tore.  I thought if I reinforced it with some washi tape where the ribbon was it would work.  No such luck, they still broke apart.  I hate when a project goes wrong.  I guess the weight of the valentines was just too much for the doilies.  I ended up adding reinforcement by cutting hearts out of card stock and gluing it to the back of the doilies.  I also punched small holes on both sides of the card stock hearts and tied them together with white twine.  Hooray!  It is not falling apart now!  I love the cute Minnie Mouse valentines.  My daughter made some just like this to hand out to the characters when we meet them for an autograph. (Of course hers are not strung together.)

close up of heart garland familybringsjoy.com

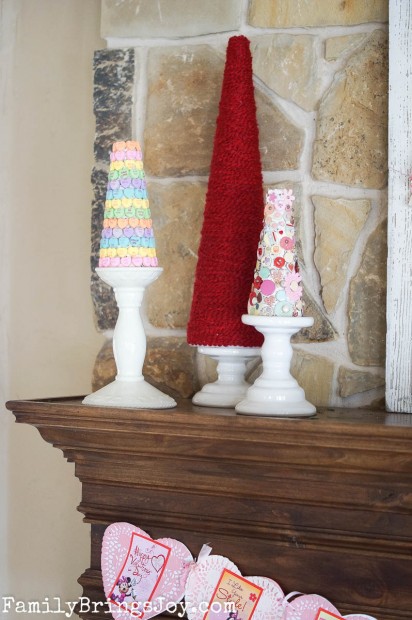
valentine trees familybringsjoy.com

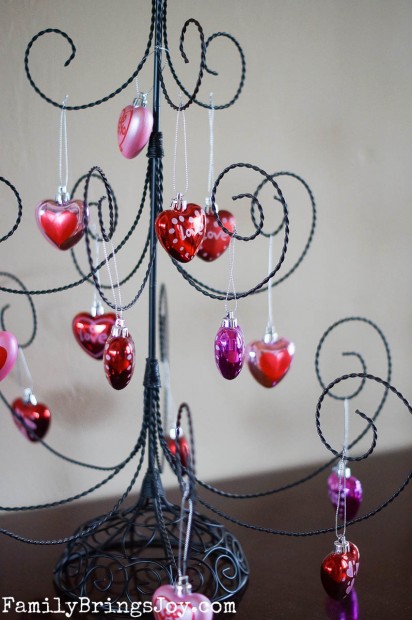
The yarn tree I made for Christmas one year.  Super easy…wrap the yarn around over and over and pin the end on the top.  The dollar store also had these smaller trees. I decided to make a conversation heart tree.  Again, super easy…all you need is a glue gun.  The other tree is made out of buttons, brads and a few flowers.  I’ve seen similar ones on Pinterest and wanted to make one.  You can’t tell in the photo but, I mod podged music paper onto the back of the trees before adding the buttons and hearts.

right side of valentine mantel familybringsjoy.com

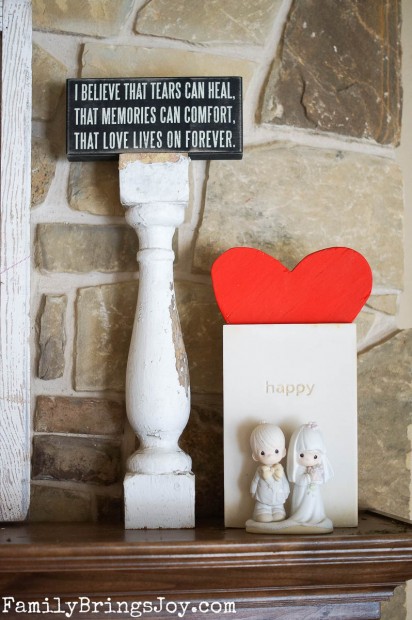
Anyone who goes into my house knows I love these little black and white signs.  The quotes on them are worth reading over and over.  Santa even put mini ones (wooden signs like the one above) in each family member’s stocking last Christmas.  I found this one at a local shop in town.  The wooden red heart my daughter made.  I found the vase at a local discount store.  The cute Precious Moments couple was on the top of our wedding cake.  It is special to us.

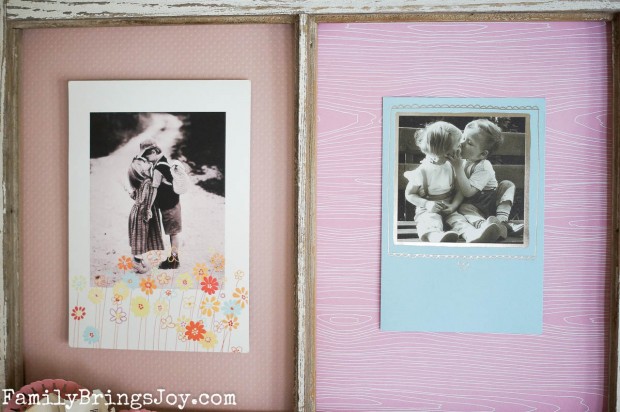
left side of frame familybringsjoy.com

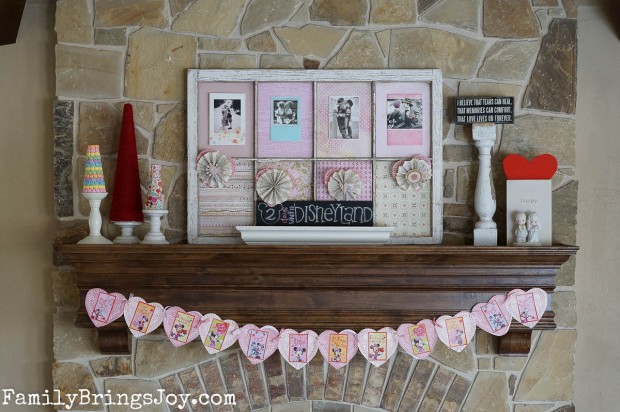
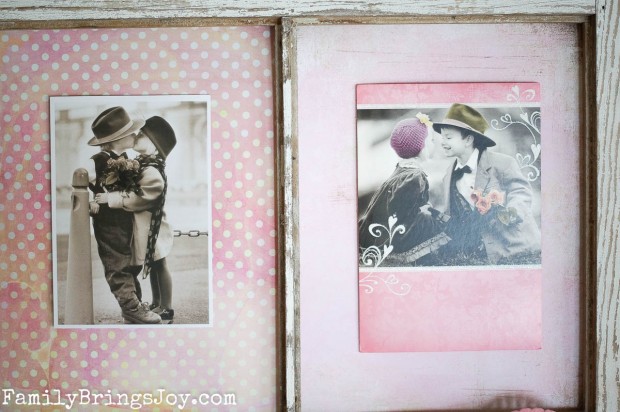
I was going through my love box (where I keep cards & notes others give me) and noticed a theme in the cards hubby has given me.  He likes to give me the cards with the little kids on them.  Aren’t they adorable?!  Boy that photographer must have offered those kids something pretty awesome to get them to pose like that. lol!  I covered the backs of the window panes with different kinds of scrapbook paper and taped the cards onto the paper with blue painters tape. {I love that tape because it holds well but you can remove it when you want without damaging anything.)

right side of valentine frame familybringsjoy.com

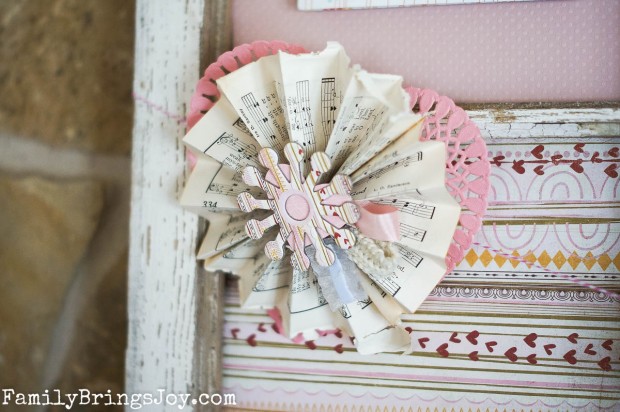
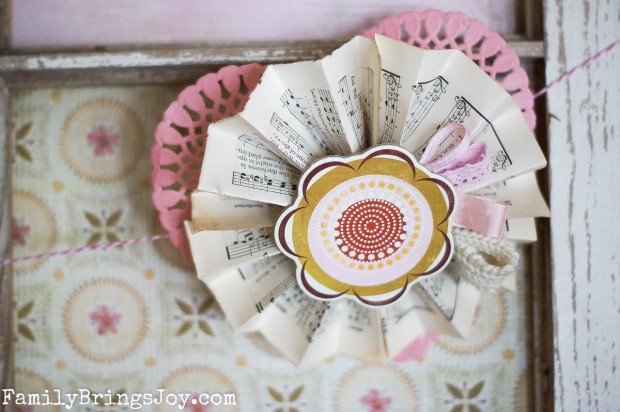
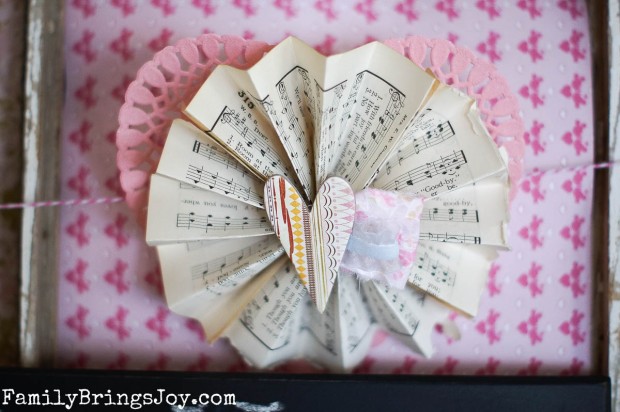
The next few photos are of the music paper pinwheels I made.  Again, I attached them to doilies and added a few embellishments on top with the glue gun.  One of the pinwheels didn’t want to hold it’s embellishments.  They kept coming off so I just left it plain. (The one over the 2)

DSC08845 DSC08843

valentines pinwheel familybringsjoy.com

Here it is again all together…

Valentine's Day Mantel 2014 familybringsjoy.com

I shot a couple of pics of the tree I have on my foyer table.

valentine tree familybringsjoy.com

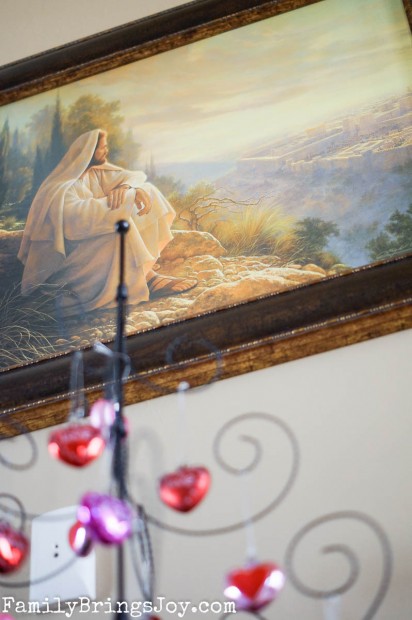
I liked the next shot of our newest piece of art above the tree.  Jesus is LOVE.  I thought it fitting to include HIM.  I was trying a different angle to change things up a bit.

Jesus and valentine tree familybringsjoy.com

I hope everyone has a lovely Valentine’s Day week.  No need to show your love to someone only on Valentine’s Day…express your love daily.

Love Brings Joy,

Creatively Switching Rooms

Daughter's room familybringsjoy.comThis morning I will be packing up my oldest daughter’s room…technically not her room, her belongings in the room.  Now that she is in college, we promised our youngest daughter she could move in to the room.  I’m hoping this activity will not bring too many tears or emotion.  In essence all I am doing is switching rooms.  So it’s not like my oldest won’t have a place to stay when she does come home to visit.  But when she isn’t here visiting, my youngest daughter’s room (which will soon be my oldest daughter’s) will be a guest room.  Are you thoroughly confused now?
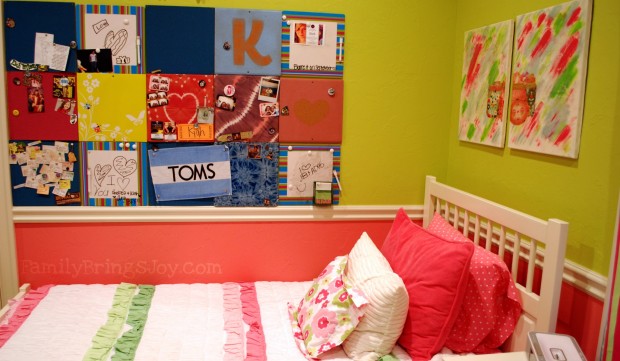
I think I’m going to try and make this activity fun by transferring her memory board square items onto scrapbook pages.

Remember when I shared how we made her memory board wall? (you can see the original post by clicking here.)  Below was what it looked like not long after we installed it.  Now it is completely filled with photos and high school paraphernalia.  Those items will quickly transfer onto 12 x 12 scrapbook paper and be a perfect addition to her scrapbook.Daughter's Bedroom Memory Board Wall familybringsjoy.com
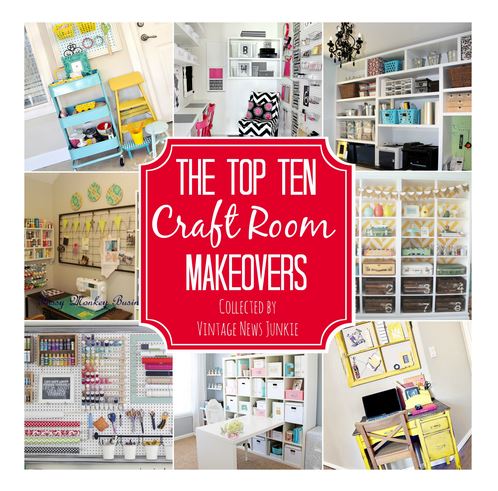
I’m so overdue for some craft therapy.  My craft room has mainly been used as a gift wrapping room since Christmas and I’ve been craving to get in there and do something creative.  Problem is, it’s quite the mess!  Maybe now that I’ve finally put away the Christmas decorations, I can tidy the room up so I have a place to create again.  Speaking of my craft room…my very sweet best friend from Haven (Home Bloggers Conference) featured my craft room on her site.  Candace’s post from her blog Vintage News Junkie is titled Top Ten Craft Room Makeovers.top ten craft rooms buttonCandace has put together a pretty awesome collection of craft rooms.  I always love to see how people organize and decorate their hobby rooms.  Hop on over to her site and take a look.  I am honored my craft room was included…just so glad you can’t see it now.  I’m not feeling too transparent to show it to you today.

Well, like my Grandma used to say, “I’m off like a dirty shirt” to pack up my oldest daughter’s room. I can do this. I think I can. I think I can.

Happy Monday,

Final Christmas Home Tour (Part 3)

I went over to my friends house yesterday to celebrate our Christmas together and her Christmas decorations and tree are already packed away.  I realize there are many of you have already packed your Christmas away.  So I apologize for being so late in my posting.  This is good for me to go ahead and post this for my own family history and for future Christmases.

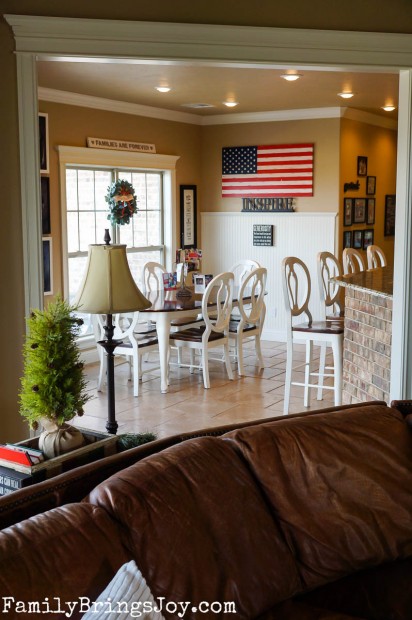
Welcome to our breakfast room.

Christmas decor in breakfast room

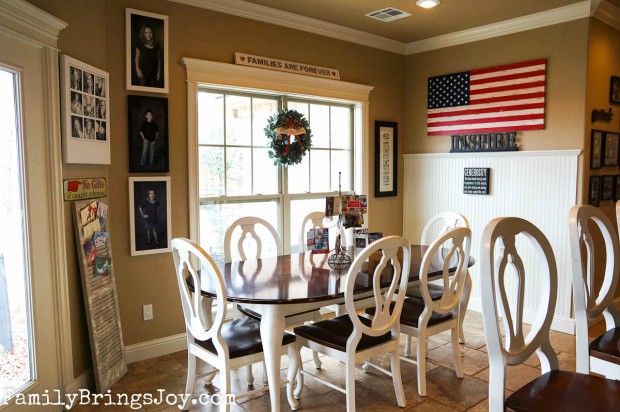
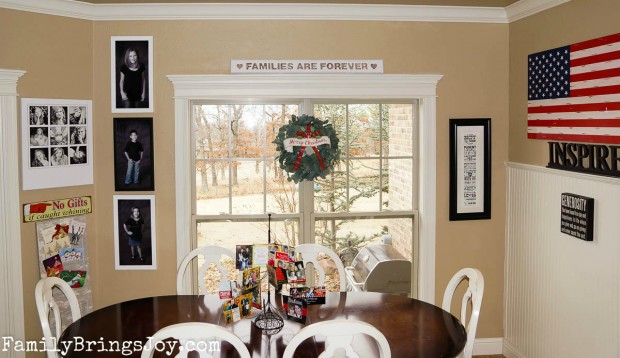
It’s ironic it’s called the breakfast room because we hardly ever have breakfast in there.  My kids are not morning people and don’t like eating breakfast.  Yes, I know it’s the most important meal of the day…I’ve tried.  I should rather like to call it our informal dining room.  This is where we eat on a daily basis.  I’m not sure if I have ever shown photos of it before on here.  Anyway, the above photo shows what it looks like from the living room.

Breakfast Area familybringsjoy.com

Christmas in the breakfast room familybringsjoy.com

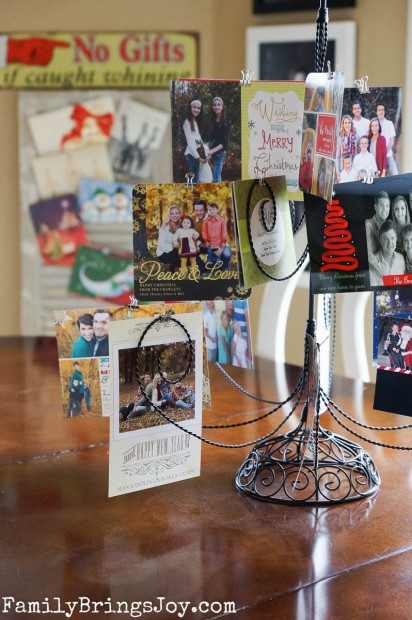
Christmas Card Tree familybringsjoy.com

Christmas Card Shutter familybringsjoy.com

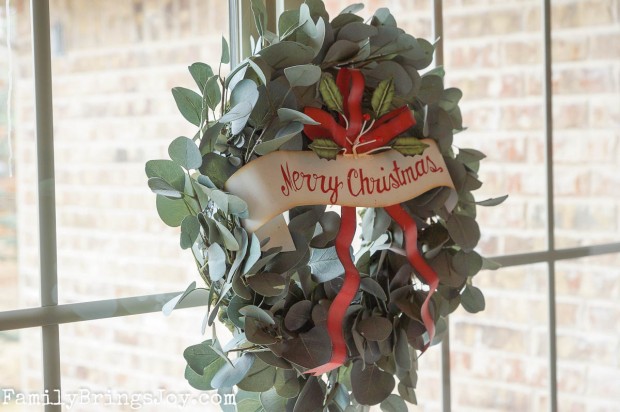
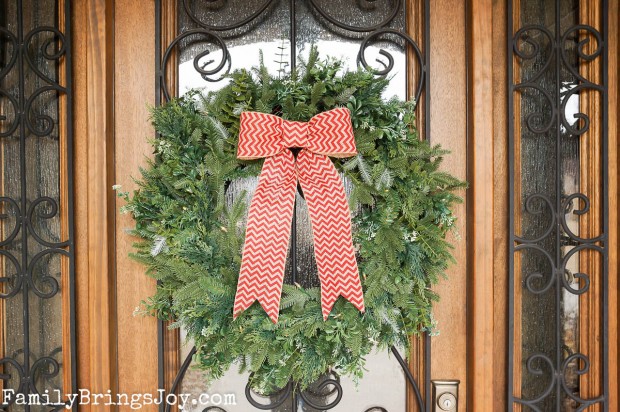
wreath familybringsjoy.com

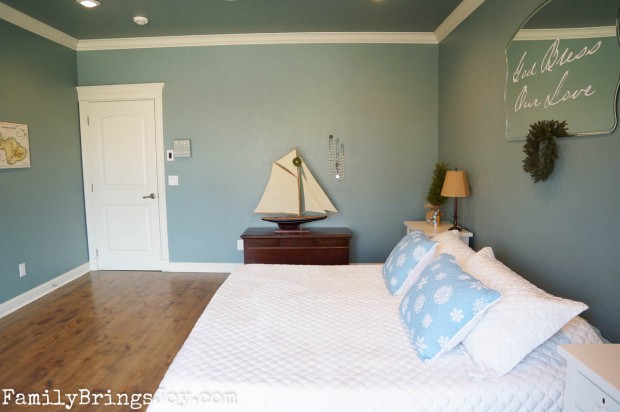
Time for our interim and Christmasfied (yes I know that’s not a word) master bedroom…drum roll…

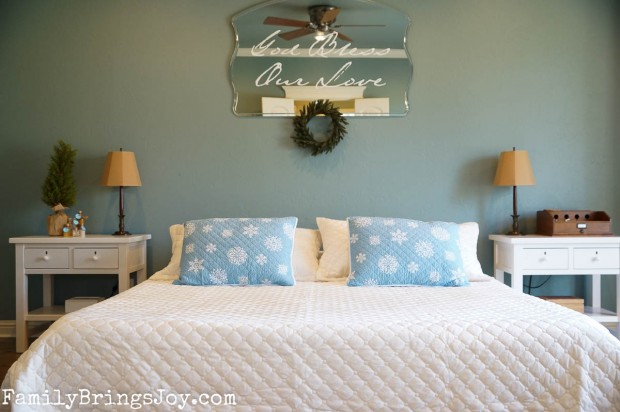
Christmas master bedroom familybringsjoy.com

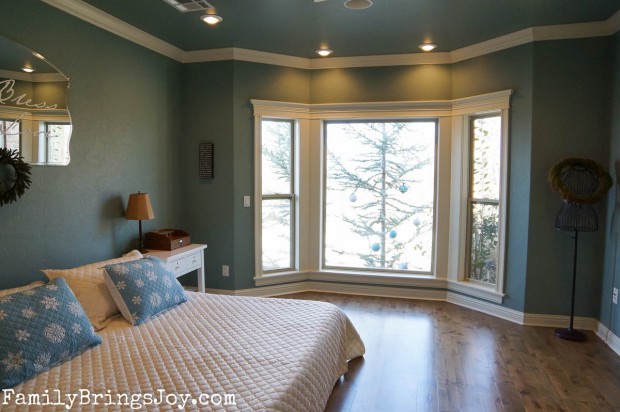
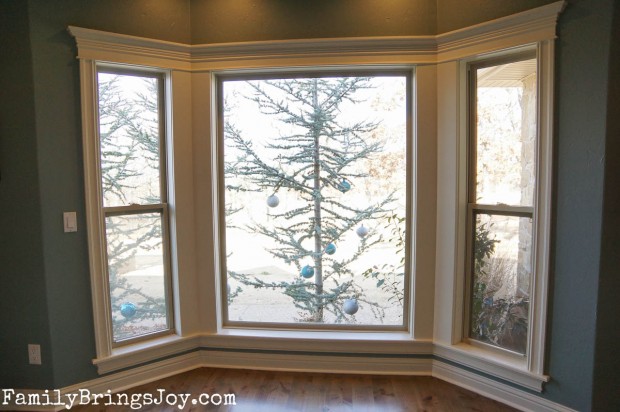
This is our room with our mattress on the floor because the canopy bed and dresser we ordered had not arrived yet when I took this photo.  The new night stands are all that is in the room now.  But you can see our new alder wood floor in the photo below.

bay window master bedroom familybringsjoy.com

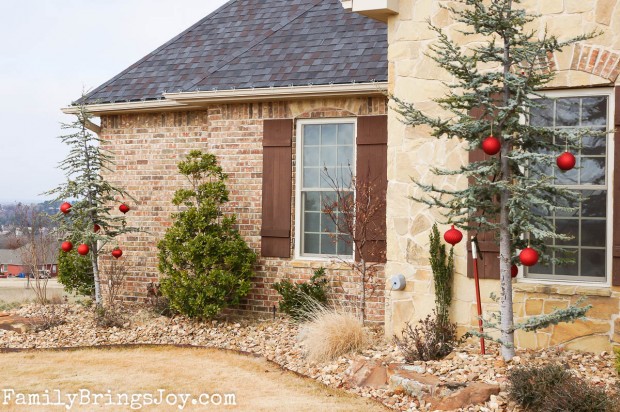
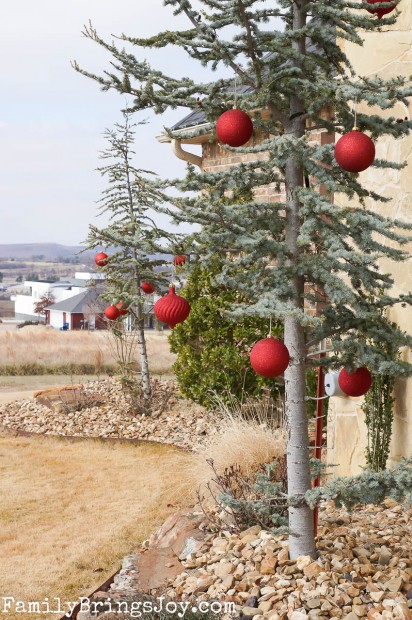
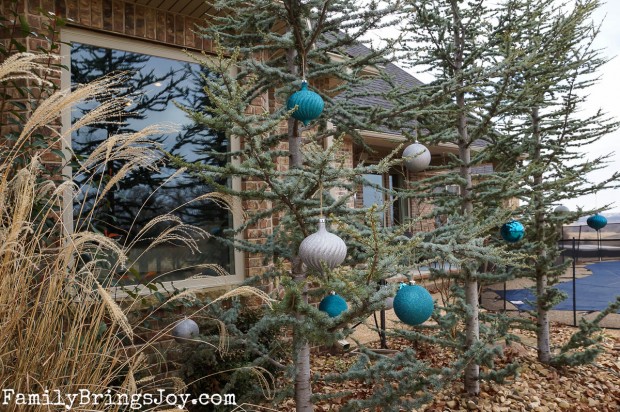
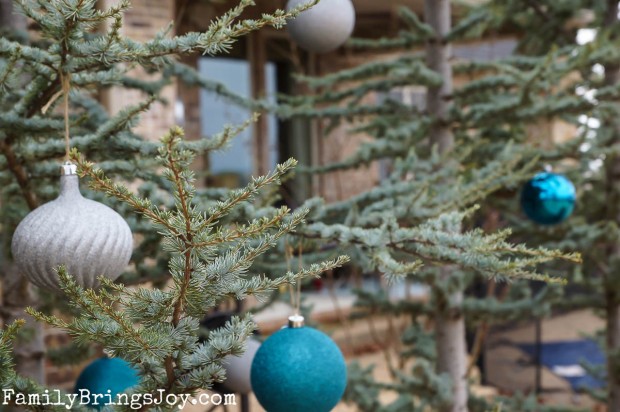
Our bay window features our blue spruce trees with giant ornaments hanging from them.

ornaments on outdoor trees familybringsjoy.com

DSC08494

DSC08491

Time to walk outside…

DSC08451

DSC08461

DSC08466

DSC08445

DSC08444

DSC08443

Well, it’s time for me to get ready for my parents who are on their way here.  Yep, we are still Christmasing here at our home. {and yes I know that’s not a word too.} Hope everyone is enjoying their holidays and looking forward to the new year.  So thankful for YOU! 😀

Holidays bring joy,

Christmas Home Tour Part Two

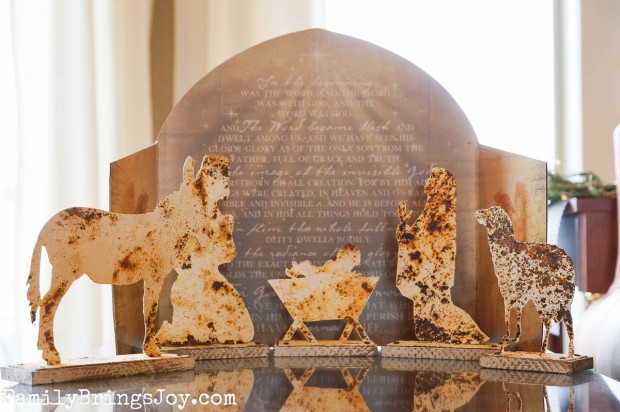
Metal Nativity familybringsjoy.com

Today I’m going to begin part two with more of the living room.

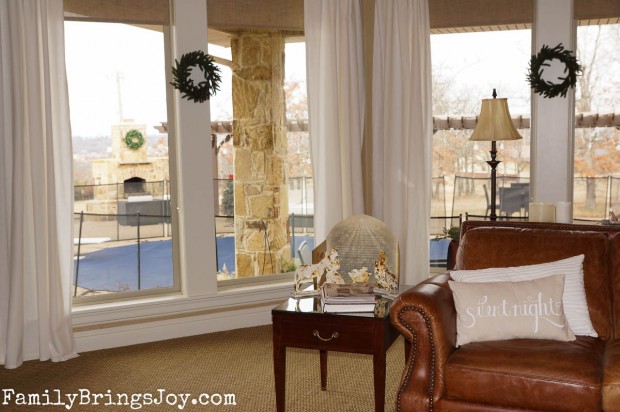
Christmas decor

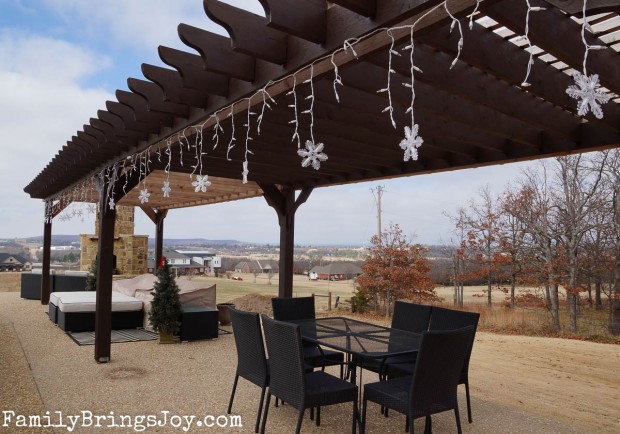
We have 4 large picture windows in our living room which face our back yard. You can see our outdoor fireplace and pergola which was installed this past summer in the background beyond the pool.

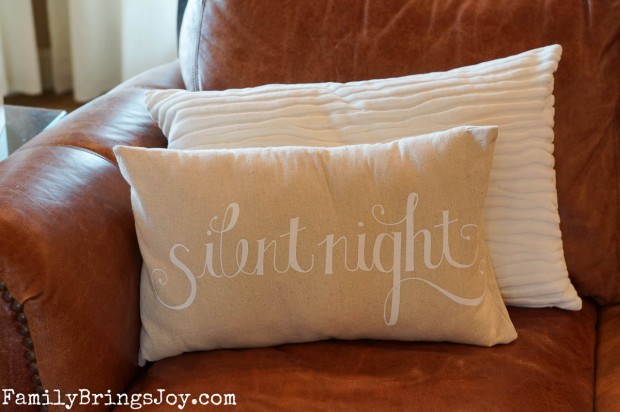
Silent Night Pillow familybringsjoy.com

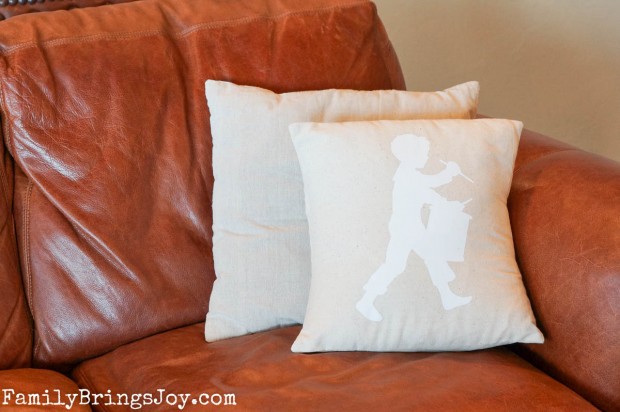
I absolutely adore my Dear Lillie pillow covers I splurged and bought this year.

little drummer boy pillow familybringsjoy.com

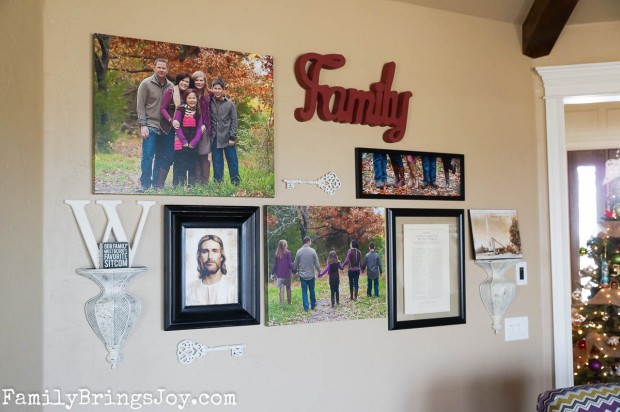
Our gallery wall…

gallery wall familybringsjoy.com

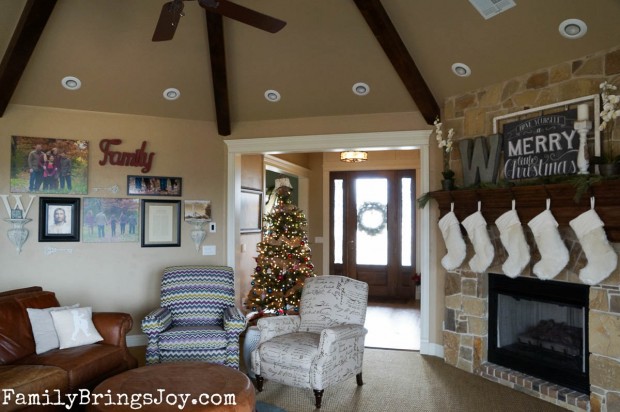
front door view of living room familybringsjoy.com

I’m not particularly pleased with how the above photo turned out.  I know the lighting in it is horrible.  However, it gives you an idea of what the living room looks like on the other side.  Our living room is in the shape of an octagon. By the way, the chevron chair (on the left) you see in the photo is not permanent.  The furniture store ordered the wrong fabric.  It will be this chevron pattern, just in more muted colors…it will match the other chair to the right better.

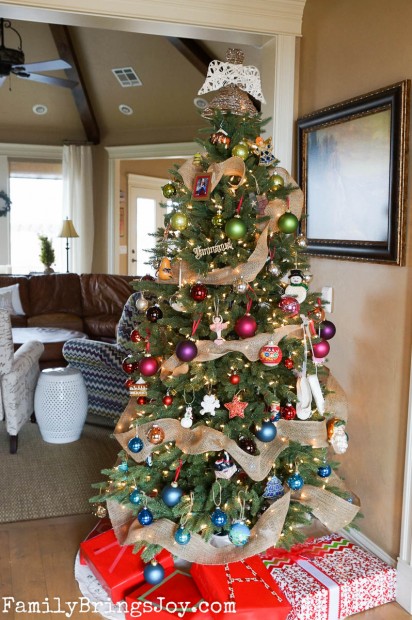
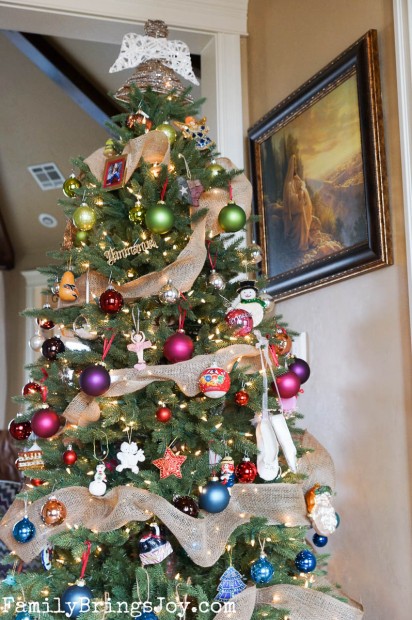
full view of tree familybringsjoy.com

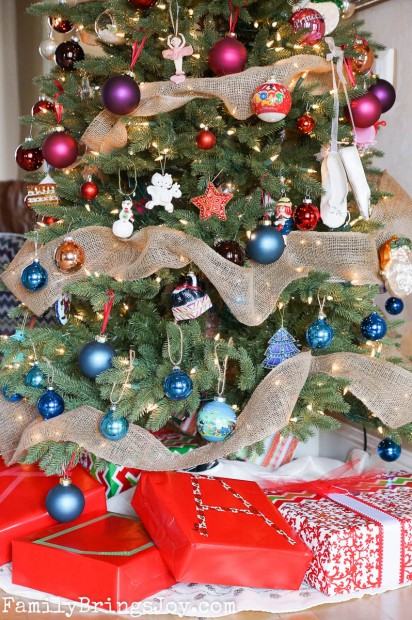
I was sort of going with a rainbow theme with my ornaments.  It didn’t turn out as good as I would have liked.

gifts under tree familybringsjoy.com

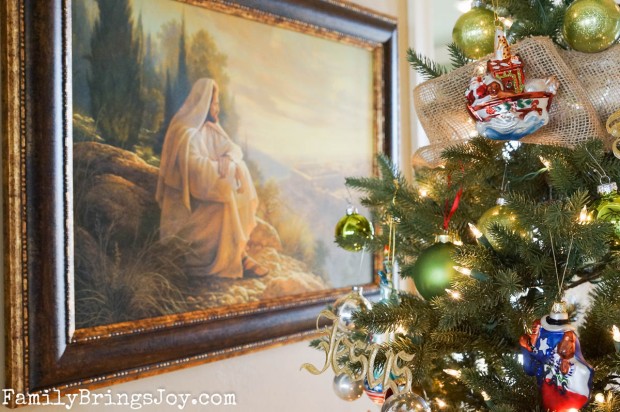
Jesus by tree familybringsjoy.com

Now onto the dining room…

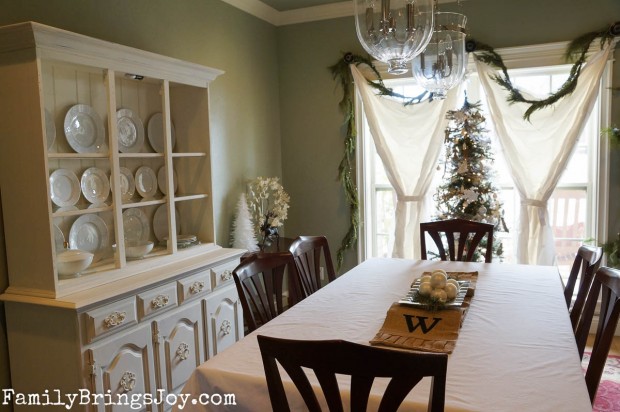
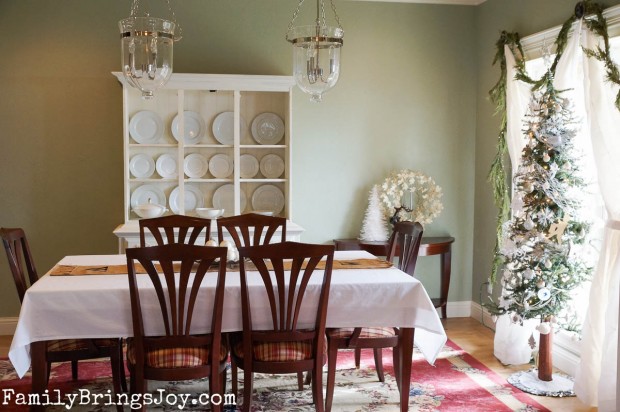
dining room familybringsjoy.com

Christmas decor

close up of vignette familybringsjoy.com

DSC08396

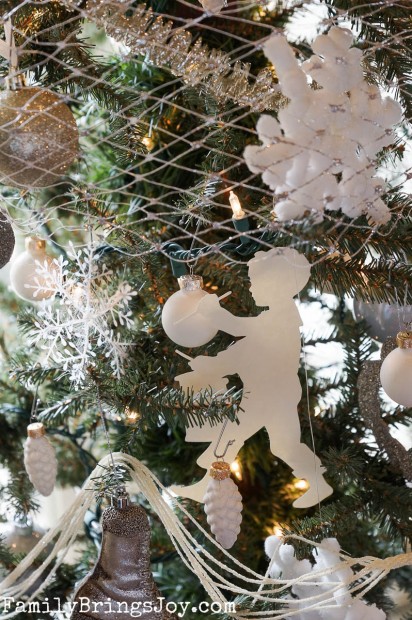
little drummer boy on tree familybringsjoy.com

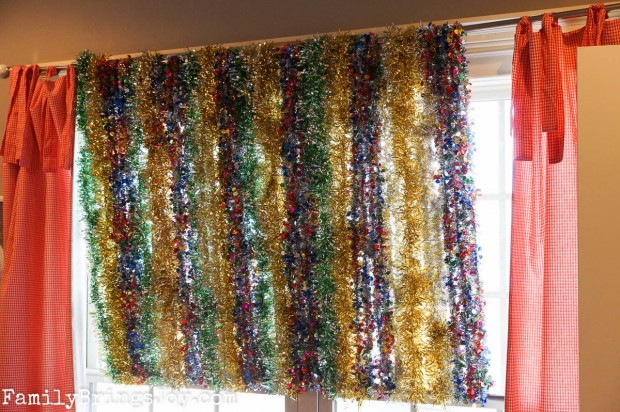
The kids made this backdrop for the “photo booth” out of tinsel for our Christmas party.  We used a tension rod at the bottom.  This is in the playroom.

photo booth back drop familybringsjoy.com

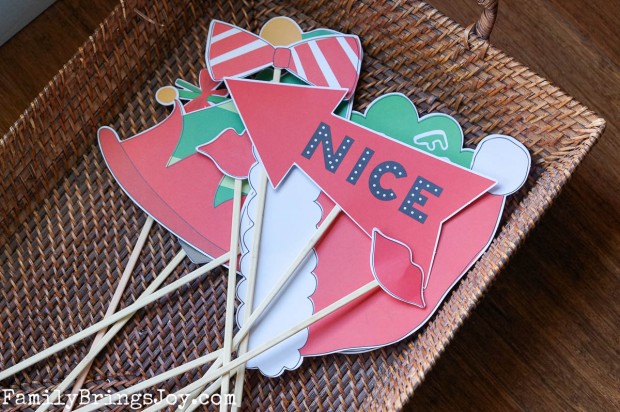
props for Christmas photo booth familybringsjoy.com

Above are the cute photo booth props I found.  My favorite was the mistletoe. 😉

Woo…that’s a lot of photos!  This means I’m going to do a part three which will include our breakfast room, interim master bedroom (with new wood floor, but without all of our new furniture because it wasn’t delivered when it was supposed to be…sore subject,) and outdoor photos.  Part three will have to be posted on Monday as my in laws are arriving today and will be here through the weekend.  So come back on Monday to see part three.

So glad you stopped by! As always, feel free to ask questions or leave nice comments. :)

Happy Friday,