Spreading Holiday Cheer to Our Nation’s Troops

For many of us, Winter Break is either upon us or only a few days away, and for moms, that means frantically finding ways of entertaining our kids so that they aren’t overcome by boredom. While sleeping in a little and a few lazy days will get you through the first few days of Winter Break, getting your kids to express their creativity while giving to others can easily keep them entertained in a meaningful way.

One group, in particular, that can use our additional support during the holidays are those that protect and serve us all year round – our Armed Forces. So if you are looking for ways to get your kids in the spirit of giving during the holiday season, consider having them complete a few of the following inexpensive, military-themed crafts for the perfect holiday care package or gifts for loved ones:

Holiday Greeting Cards for Troops
Troops will say time and time again that one of their favorite things to receive while stationed abroad are handwritten cards from kids. All you need are some markers, crayons, and construction paper and you can turn your kids loose. Let them create as many holiday cards as they desire as long as they are wishing our Heroes a Happy Holidays and thanking them for their service. To have them delivered, you can simply drop them off at the post office or stop by a local military support organization or VA and they will make sure they get delivered.
writing santa 11.30.09 [334]
Blankets for Wounded Warriors
If you’ve got older kids, another fun and inexpensive project for them is making blankets for Wounded Warriors. Many VA treatment centers love receiving these blankets, and the Wounded Warriors that get them are always grateful. To start, contact your local VA to see if they have any specifications for the blankets needed, and then take the kids to the local fabric store to pick out fun fabrics. The blankets can be as intricate as you would like, and your kids will love trying out a new skill.

Wreaths for Local Troops
A more unique way to say “Thank you for your service” is by making wreaths for your local soldiers. If you’ve got younger kids, consider making the wreaths out of construction paper, and then allowing them to decorate them with glitter pens and construction paper ornaments, or check out this tutorial on how to make an Army wreath. Your local soldiers will love the time taken to create them, and they can easily be hung around the local VA without worry for patient health.

However, if you’ve got a few more extra funds or older kids, consider decorating real wreaths for local soldiers outside of the VA. Local Christmas tree farms are more than willing to donate extra boughs for a good cause, and with a few inexpensive bows, strands of garland, and ornaments, you can have a lovely wreath to give as a “thank you” for the local soldiers within your own community.
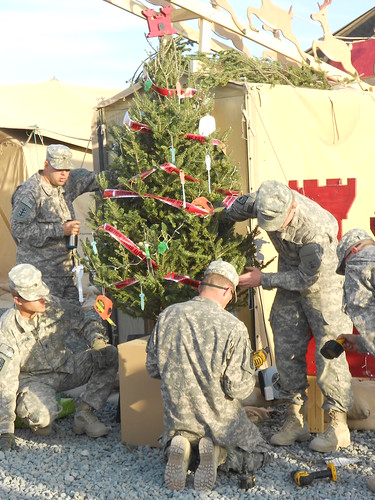
Christmas in Kuwait 3
Stocking Care Packages
Soldiers serving overseas unfortunately miss out on many of the holiday goodies that we take for granted, and in great abundance, over the holidays. If you are looking for a more extravagant way to give this holiday season, consider creating stocking care packages for troops abroad. Stockings can be purchased for as little as $1 at the local discount store, your kids can decorate them, and then you can stuff them with candy canes (decorated as reindeer, of course!) and other holiday goodies troops may miss out on.

Most care packages cost under $22 to create, and if you drop them off with a local military support organization, they will deliver them for free or at a nominal cost. Just be sure to check out care package guidelines prior to creation to make sure you are sending acceptable items.

Deck the Halls
Now if you are looking to keep a few of your holiday crafts at home, consider decorating your home with a bit more patriotic flare. There is no reason why the American flag has to come down in order to hang up Christmas lights. To get the kids involved, see if there aren’t crafty ways that you can incorporate a little red, white, and blue into your traditional red and greens.

One easy way to do so is simply making a giant-sized holiday card to place in your lawn. At the local hardware store, pre-cut plywood can be cheaply purchased and after a quick coat of white paint, your kids can paint “thank you for your service” and decorate it as they see fit.

The holidays are full of fun craft ideas that can leave your home full of holiday cheer. However, if you can take that holiday cheer outside the home, there really isn’t a better feeling that is more in tune with the holiday spirit. So if you are looking for a few great ways to entertain your kids while also doing something great for those who serve in our community, consider sending holiday cheer to our troops stateside and overseas.

Adrienne May is a military spouse, mother of three and featured author for Military Spouse Central, a network dedicated to providing tips and advice to a community of over 100,000 military families. Follow her on Google+ or tweet her @AdrienneMay.

*********************************************************************************************************************

This has been a special guest post by Adrienne May from Military Spouse Central.  I am extremely thrilled to share this wonderful article with you today.  Thank you so much Adrienne for sharing this with us.  I love all the ideas on ways we can spread the Christmas cheer and spirit to the courageous people who have volunteered to guard our country.  I look forward to choosing some of these projects with my family.  I have a special soft heart for the military.  Many of my family members have served in the military and I am extremely grateful for all those who are serving currently to protect America.

Which idea did you like the best? or Which one do you think your family might do?  I love hearing your feedback in comments.

You will NOT want to miss tomorrow’s Christmas post.  I have a feeling you will be sharing it with everyone, especially your spouse!  Until then have a beautiful day. :)

Let them know it’s Christmas time,

Remembering Christ This Christmas By Lighting ‘Em Up!

Tuesday our church’s women’s group had a Christmas party.  One of the women {who comes from a talented family of poets} read aloud a beautiful, heartfelt poem she wrote.  We were all extremely touched by this poem.  I received permission from her to share this with you.

A Birthday Wish

It’s my birthday party
Another year has passed.
The celebration grows each year
Yet I’m thought of less and less.

Just like you, I look forward
In an eager way,
To many birthday greetings
On my special day.

I do not ask for much
Wrapping paper, there’s no need.
All I want for my birthday, is
Please remember me.

I don’t need a cake
With adornments on a table,
Acceptance is what’s wanted
From the babe born in a stable.

No special song required
For me to have a smile.
Just acknowledge my existence
And talk with me awhile.

The decorations are breath taking
The lights, the star, the tree.
While merry you are making…
Please remember me.

I love the beauty of the carols
Of this special season
But “Silent Night” is my favorite.
Do you know the reason?

It’s not the shopping and the spending
It’s the kindness and charity,
That should be taught within your home
And to your family.

Gaye Willard {click on photo to go to artist’s site}

The white beard, the red coat,
Around the world in a blink.
MY beard is white, MY robe is red,
Perhaps there is a link?

Yes…St. Nick is my servant
A faithful one, is he
Symbolizing all that’s good
But please remember me.

It may be my birthday
But I gave the gift to you,
Eternal life through my sacrifice
When your earthly life is through.

Yes, it is my birthday
And I hope your gift will be
The only birthday wish I make:
Please remember me.

Written by Dana L. Dugan
Dec. 8, 2011

Isn’t this poem phenomenal?

I highlighted a stanza because I’ve been working on this in our family.  Have you heard of Booing?  Booing is a sweet service activity we have done as a family in October for Halloween {you can see what we did by clicking here.}  We put together little baskets of goodies and secretly left them on doorsteps of friends.

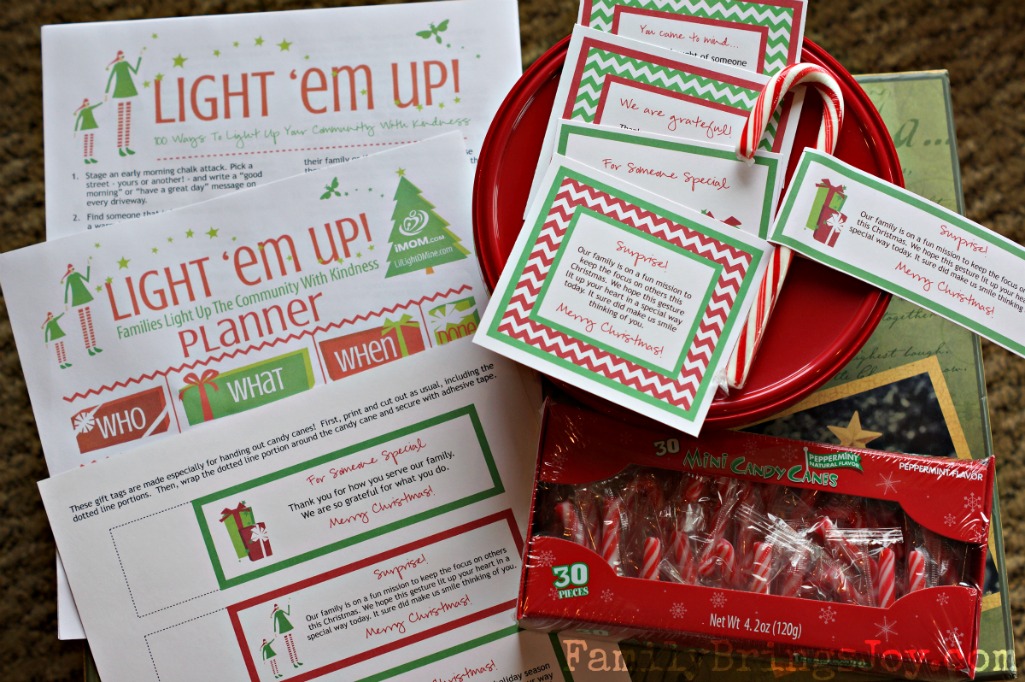
One Mom has taken this Booing idea to the month of December for Christmas and calls it Light ‘Em Up!  Families Light Up The Community With Kindness.  Courtney from Lil Light O’ Mine started this last year with her family and shared it on her blog.  Fortunately, many others, like me, were blown away with the idea of teaching our kids kindness and charity in a fun way during the Christmas season.  Courtney is very organized and has 100 ideas on what families can do, check lists and labels {all FREE} to help your family Light ‘Em Up!

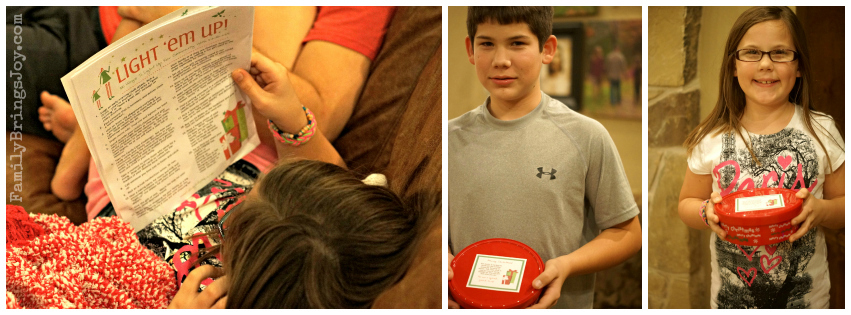
Monday night we read over the ideas and did our first Light ‘Em Up.  It was simple…Christmas container with Christmas shaped sugar cookies we made.  I printed out the very cute labels and we were ready to share some Christmas JOY with someone.  My goal is for our family to do this at least once a week, but I plan on putting the big candy canes with the labels wrapped around them in my purse.  This way the kids can hand them out to whomever they feel inclined to surprise wherever we are.

I hope by doing these random acts of kindness our kids will catch the vision of service.  It really is the best gift we can give our Savior besides remembering Him.  We are His hands.

The Christ{mas} spirit is contagious,

Its A Craft Weekend Extradonaire Including A Canvas Wrap Giveaway!

Hey there!

You’re just in time to go on a trip with me.

This isn’t any ordinary trip.  This is a trip to Whatever Craft Weekend in Newton, Kansas.  A fun filled weekend filled with crafting, friending, antiquing and eating for us big girls.

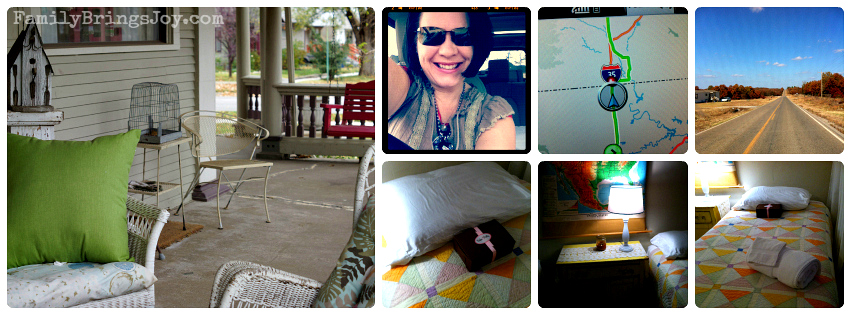
1.) With my audiobook, music, suitcase and a full tank of gas…I was ready to go!  GPS and I had a few go arounds, it wanted to take the scenic route while I wanted to stay on the highway.  Grrrr…but I won. 😉

2.) I was greeted by the above big beautiful front porch.  And look at my bed all cutesy with a gift by my pillow.  The spoiling has begun!  I shared a room with 3 other sweet girls.

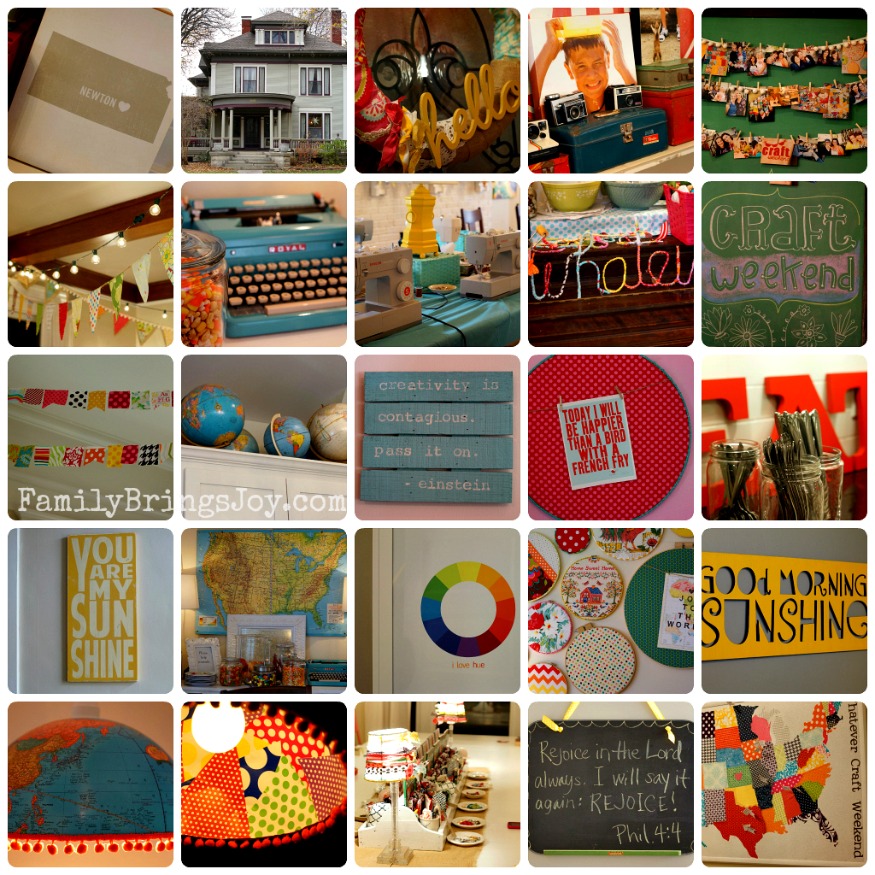
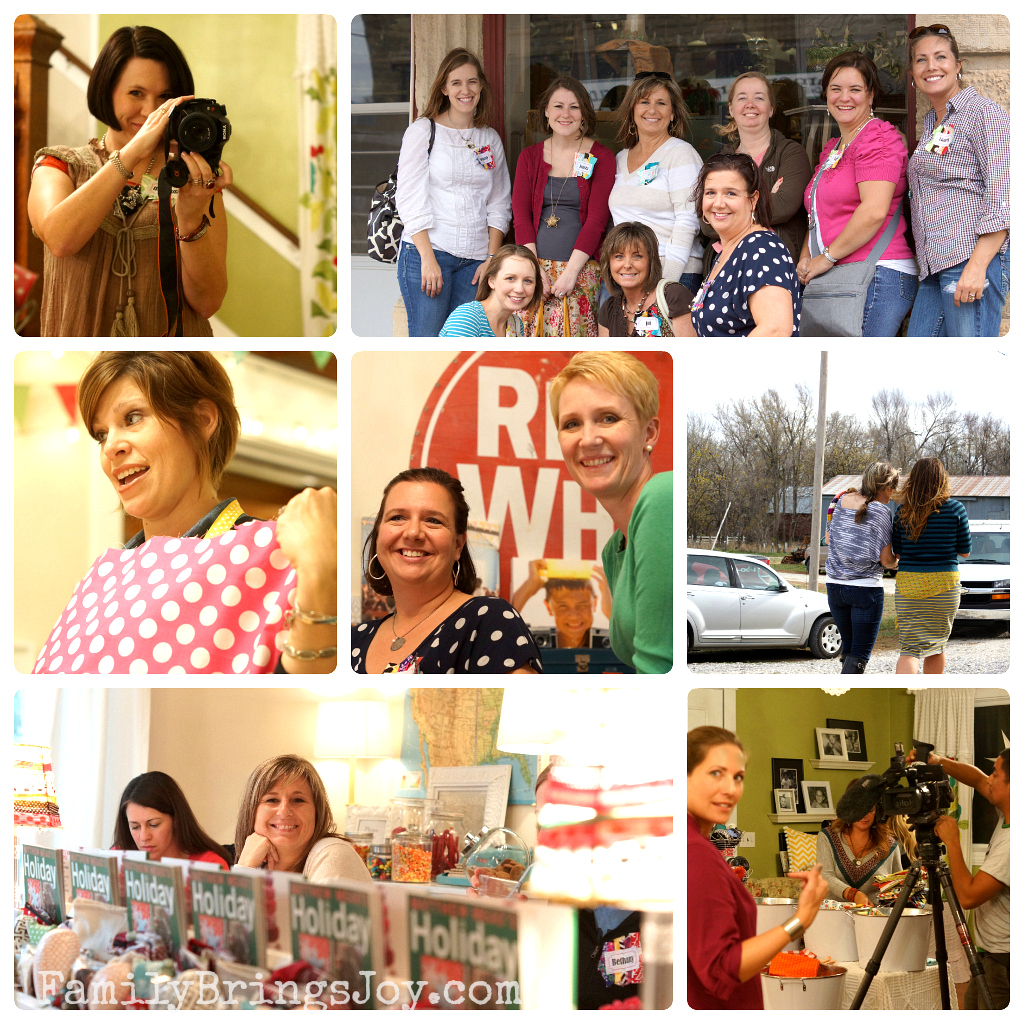
3.) The following collage is a small glimpse of the inside of Meg’s Craft House.  For me it was like walking into a live dollhouse for us grown women.  Meg has it decorated spectacularly with every detail special and filled with all the things crafters love.  The formal living room and dining room was converted to the main craft area of the house.  This room has several tables: one section of tables for crafting, one section of tables with sewing machines and one section of tables for cutting fabric with mats & rotary cutters galore.

4.) My favorite components of her decor are COLOR, lots of art with quotes, lots of globes & maps and last but not least lots of bunting/banners.  It is very homey feeling.

5.) Below is a collage of all of us girls having a blast…

6.) Do you see the photo right above this which shows all of the magazines?  Those cubbies contain SWAG {stuff we all get…free} for each of us.  Thank you to all of the generous companies for your gifts.  Yes, the next photo has a big time video camera in it.  Lauren, aka my roomie, was being interviewed.  Other girls were interviewed as well by a Wichita news station.  They are doing a news story on Meg & Kimberlee…the 2 genius master minds of Whatever Craft Weekend.  I can’t wait to see how it turns out.

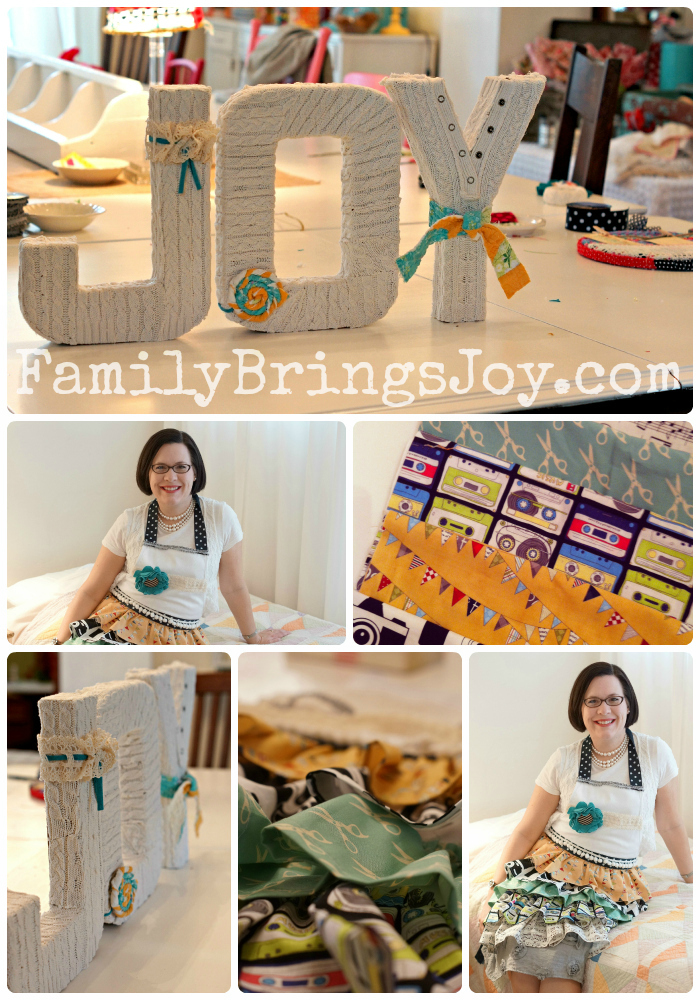
7.) Friday night we made adorable aprons which you will see in photos towards the end of this post.  I sewed…and sewed and sewed…not my favorite thing but I persevered and have a colorful apron to show for it.  On a downer note my eye turned blood red Friday night before retiring to bed. {Hence me having to wear my glasses the rest of the trip.  I normally wear contacts}

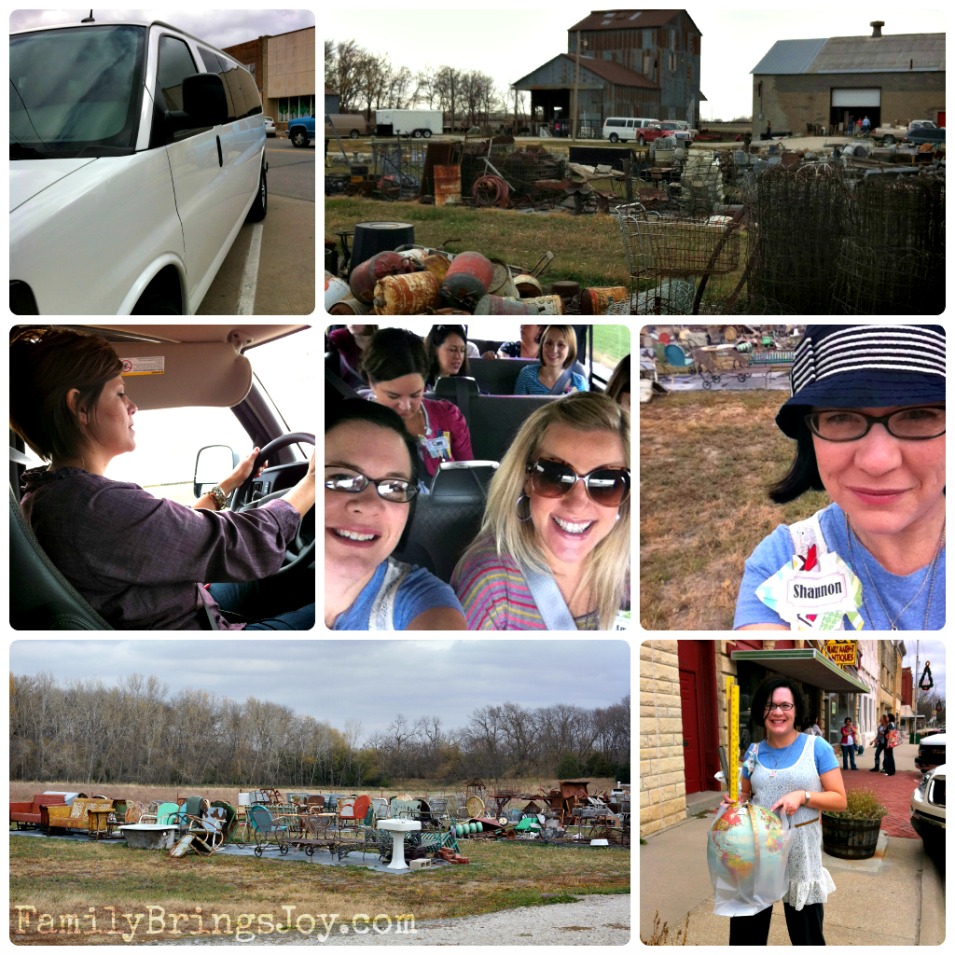
8.) Saturday morning we loaded Meg’s gigantic van and drove to an antique store and barn.  Side note: WINDIEST DAY EVER!

9.)  At the antique store I found a globe!  I’ve been looking for one and new ones are priced more than what I want to spend.  I also bought a huge whisk and some antique yard sticks.  I have a craft in mind for the yard sticks.  Total spent was around $30.  I also walked down the street to a thrift store.  This is where I got the best deals {which is what I LOVE…if I’m going to buy something used, it better be a good deal ;).}  I found several small shelves under a $1 that I plan to revive with spray paint.  I also found a small hard suitcase {$1} that I will use as a photo prop.  When not in use it will be helpful in storing craft supplies.  The last few items I got there were a small cork board, a canvas print {that I plan on painting over,} and a small shutter {YIPEE, been looking for those!}  Total spent was $7.  Our last stop was at a huge barn {technically 2 shown above} filled from top to bottom and many items outside.  I scored an old window frame, wire basket, large shutter and a type set drawer!  All of these things I have been looking for and only cost me $46!  I’ll have to show photos of these finds in a future post because I need a break from editing photos.  I took almost 300 photos during this trip.

10.) It was time for a stop at SONIC before heading back to the craft house.  You should have seen the LONG list of things Meg ordered for us.  2 of the girls had never been to Sonic before.  Bless their souls…us Southern gals love Sonic.

11.) Above is a small sampling of the phenomenal food made for us by ‘chef’ Kimberlee.  The second photo showing the pumpkins was the very cute centerpiece on the table.  The food was so delicious.  Talk about spoiling…Meg & Kim made us promise NOT to clear our place from the table.  We would be scolded if we cleared our place.  I almost did it a few times. lol!

12.) Here’s the deal…4 crafts were taught on Saturday night.  I only did 2.  Sometimes it takes a while to get those creative juices flowing.  I made the flower you see on my apron and decorated the JOY letters.  Cutting out the t-shirt fabric for the flower took a long time.  And while hot gluing the letters with sweater material sounds super easy, well it took longer than I would have liked.  It was kind of like putting together a puzzle.  I wanted it to be white because I like to decorate with white.  In addition, I could have it up year round.  The embellishments I made are removable {tied on, not glued} in case I want to have the letters plain or add different color in the future besides the blue & yellow.

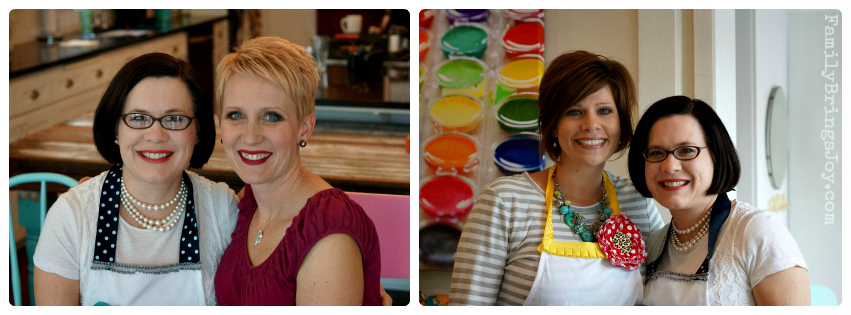
13.) Sunday morning we ate a grand breakfast, packed up our things and had a fun photo shoot.  Below you will see me with Kimberlee {on the left} and Meg {on the right}…  both beautiful women inside and out making a difference in women’s lives.  Tickled pink I could meet and spend time with them.  You can read more about this weekend and see her photos on Meg’s blog here.

With all this creative excitement going on I am thrilled to host a GIVEAWAY courtesy of Printcopia.

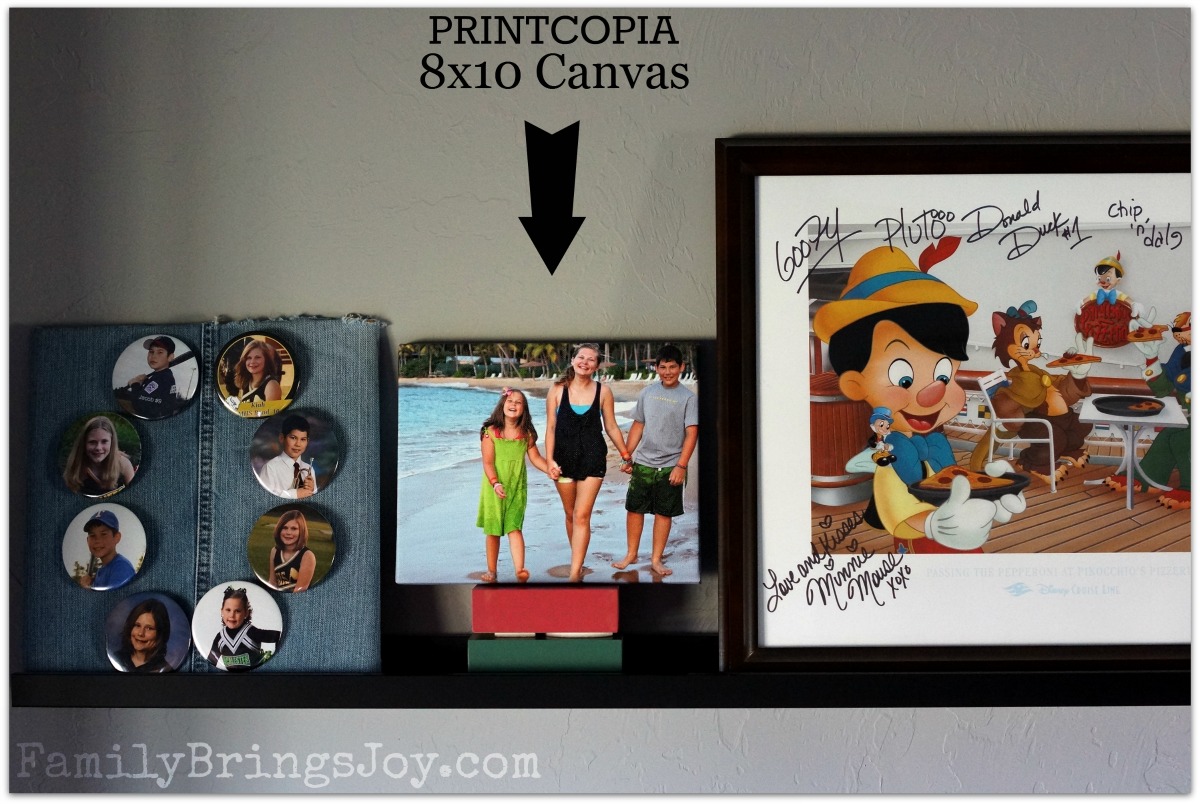
One lucky random reader will receive a FREE 8×10 CANVAS from Printcopia.  Time to look through those digital photos and pick out one you want to feature on your wall…canvas style!  The nice people at Printcopia contacted me about doing a review and giveaway.  First check out my Printcopia 8×10 canvas:

I am very happy to report a pleasant experience with ordering this bad boy above.  Printcopia’s website is very user friendly and I was shocked at how quickly I was able to upload my photo and check out.  Time is money!

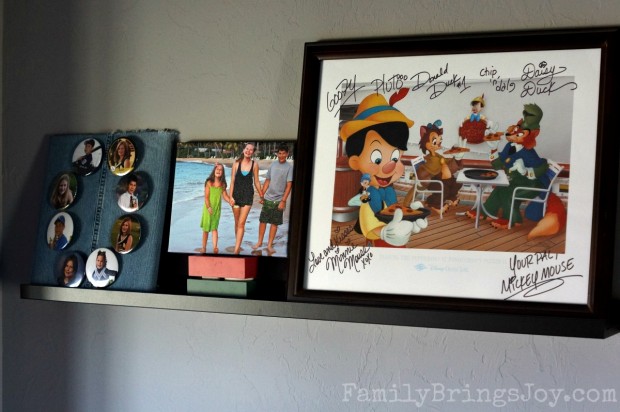
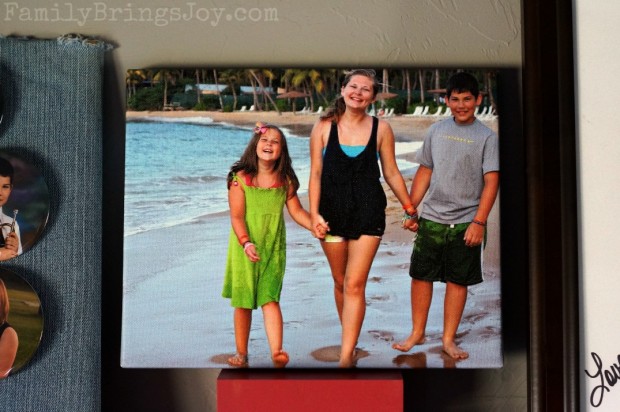
I chose a photo I took of the kiddos this summer on the beach at Puerto Rico.  Love the JOY shown on their faces while at my favorite place on earth…the beach!  I found a perfect place for my canvas.  I placed it on top of a couple of blocks in the middle of this ledge in our playroom.  This ledge is hanging above our television.  On the right of the canvas is a print I got for my 40th Birthday from our Disney Cruise.  On the left of the canvas is a cork board I covered with old jeans and my kids photo pins.

Below shows the shelf at an angle.

Here’s a close up of the canvas:

I am extremely satisfied with the quality of this canvas wrap.  As a matter of fact, I’m taking advantage of their Veteran’s Day promotion today.  It’s the last day.  You can order a 11×14 canvas for only $28 with FREE SHIPPING!  Talk about an AMAZING DEAL!  They would make great Christmas gifts too!  Time for me to print out some of our Blue Lily photographs.

Printcopia offers framed prints, acrylic framed prints, panoramic prints and regular photo printing.

Thank you Printcopia for this wonderful opportunity for my readers.

How to enter the giveaway:

  • Simple and easy…leave me a comment in regards to something about this post.  That’s all!
  • Increase your chances to win by liking Family Brings Joy’s Facebook page, following Family Brings Joy on Twitter, liking Printcopia’s Facebook page, following Printcopia’s Twitter and tweeting this giveaway. {These are all OPTIONAL, not mandatory.}
  • Printcopia only ships to continental U.S.  Sorry my overseas friends.

Rafflecopter makes it easy to do all of the above.  It is safe and secure.

a Rafflecopter giveaway

Apology: I was planning on adding all of my new craft friends’ blogs to this post, but I have run out of time.  This post was very time consuming {but hopefully worth it.}  I promise to have those in a future post.  Maybe even a blog hop if I can get it together.

Headed to visit my Mom for our Breaking Dawn Part 2 celebration.  We’ll be seeing the movie on Saturday…so excited!!!  Time to get out of my pj’s…lol.  One last thing, I found out today that my oldest Daughter was nominated to be Band Queen.  3 other lovely girls will compete for the title.  Pleased as punch for her.  Looks like we’ll be going dress shopping!

HAVE A GREAT WEEKEND EVERYONE!

Be CREATIVE,

Free Halloween Printables & Half Off Christmas Cards

Source: papercoterie.com via Shan@ on Pinterest


Here I am sharing Halloween printables because I just ordered some Christmas Cards.

This will be a little weird talking about Halloween & Christmas in the same post, but hey “anything could happen.”  Right?  {Sorry, I had to add the Ellie Goulding song reference}

Paper Coterie is having a SALE on their Holiday Cards.  Just add coupon code HOLIDAYCARDS2012 between now and November 4th to receive 50% OFF!

It pays to plan ahead, huh?

Back to our fast approaching holiday Halloween.  I noticed Paper Coterie was offering these super cute FREE treat bag and bingo printables.  I had to share it with my fabulous readers.

What will your children be dressing up as this Halloween?

Easy Crafting With Foil

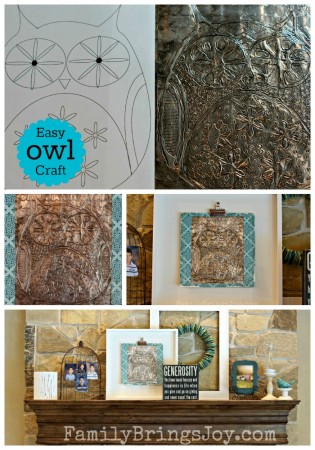
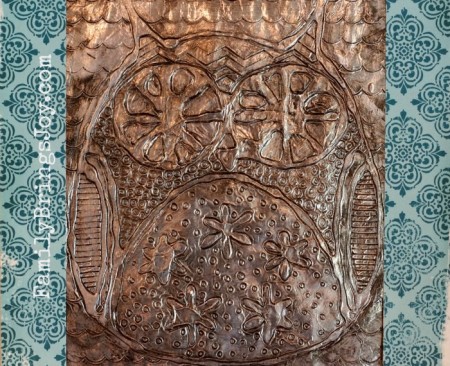
I’m very excited to share this super cute and easy owl craft.

Supplies You Will Need:

You’ll also need cotton swabs {q-tips} & black shoe polish

1. Draw or choose an owl {or anything you want to create.}  We found our owls here.

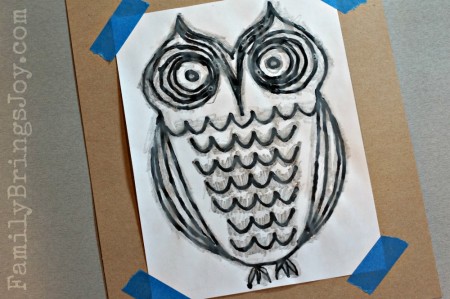
2. Tape your owl to some card board or chip board.  The card board/chip board helps form the indentions for a later step.

This is my Daughter’s owl in progress

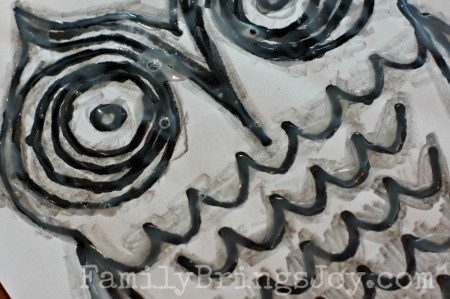
3. Cover the lines with white glue.  I think the tacky glue would work better but ours was too thick {old} so we used what we had on hand…regular white glue.

Looks like this after the glue dries

Tip: Let dry a full 24 hours

4. After the glue has dried completely, cover the entire owl page with stick glue.

5. Add foil.

6. Press and smooth.

7. Use a cotton swab to go around the hard glue lines.

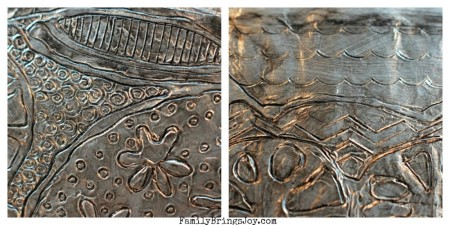
8. Use a blunt pencil to accentuate the lines by following around the hard glue lines.

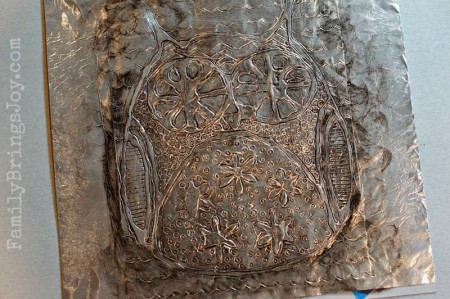
9. With a blunt pencil add design to the blank spaces.  This is why you need the card board…to help create the indentions.  I made swirls, circles and lines.

10. Add black shoe polish and immediately wipe with an old cloth.

Tip: The shoe polish dries fast!

Can you believe this is made out of glue, foil and black shoe polish?  I wouldn’t believe it if I hadn’t done it myself.  It’s like magic!  There are endless possibilities to using this craft.  I love how this turned out!  What do you think?

I cut the owl down and added a piece of pretty scrapbook paper to it.

I had the perfect shadow box for my new piece of art I bought from Ikea.

Voila!  My shadow box is highlighted on my pre-Fall mantel {I’m not ready for the orange & fall colors yet.}

I learned how to do this via Make It… a Wonderful Life.  This art teacher gives a wonderful tutorial.  I decided I would give my own tips and tricks to this craft from doing it myself.  She begins her tutorial by teaching you how to transfer a drawing to card board.  I was happy to learn how to do this without using carbon paper.  We tried it, but it didn’t work for us. :(  So I skipped the transfer step {in case you were wondering why there was pencil shading over the drawing.}
Display & Enjoy Your Creations,

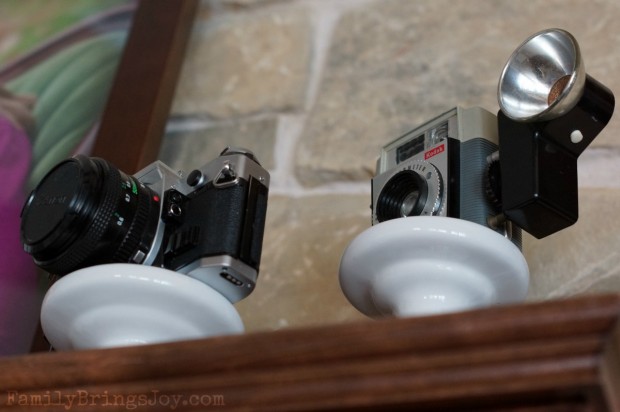
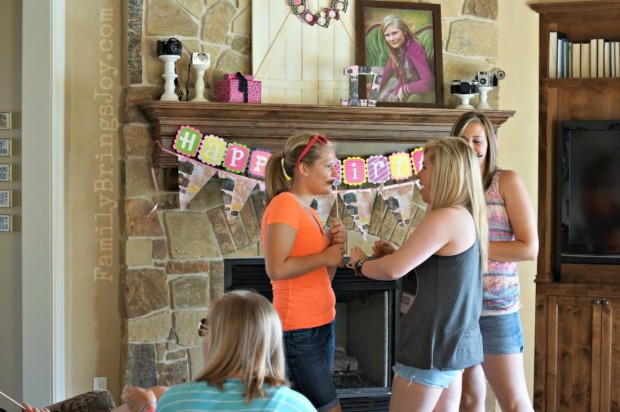
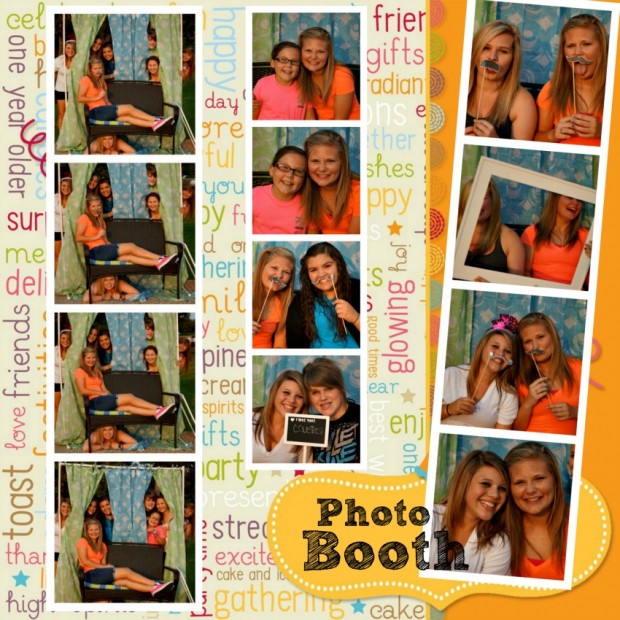
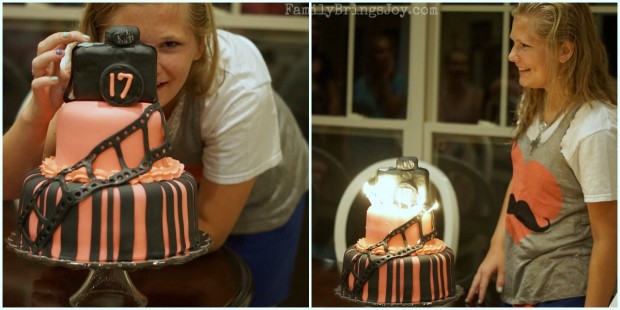
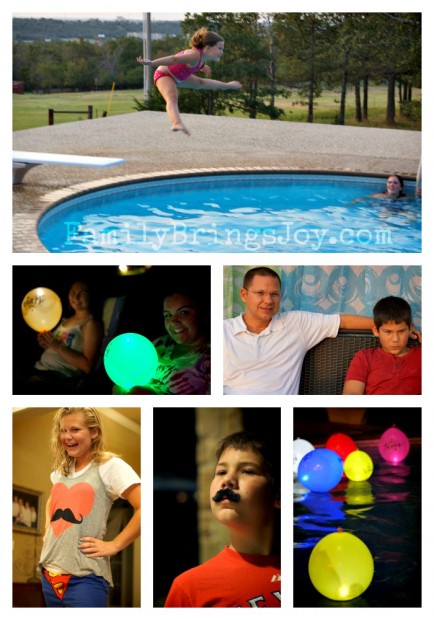
Camera/Photo/Photobooth Themed Birthday Party

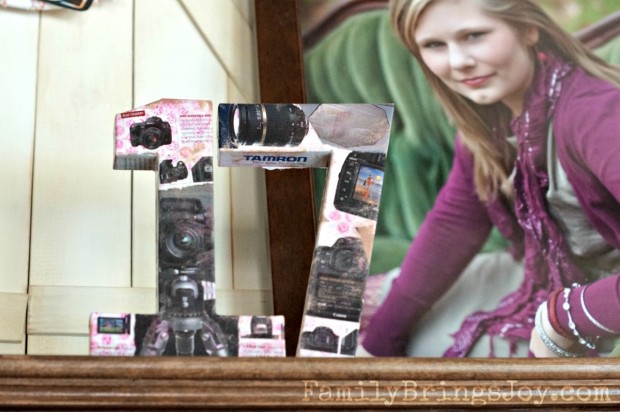
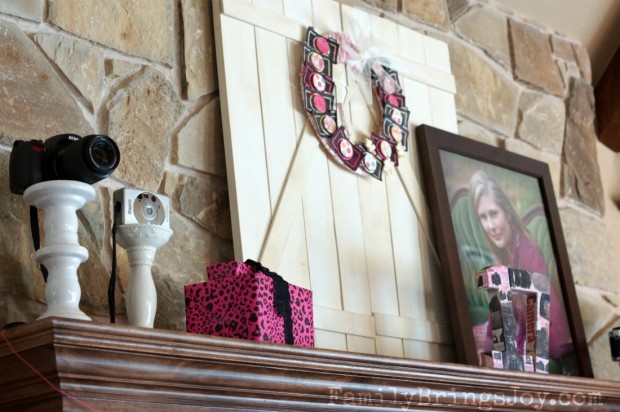
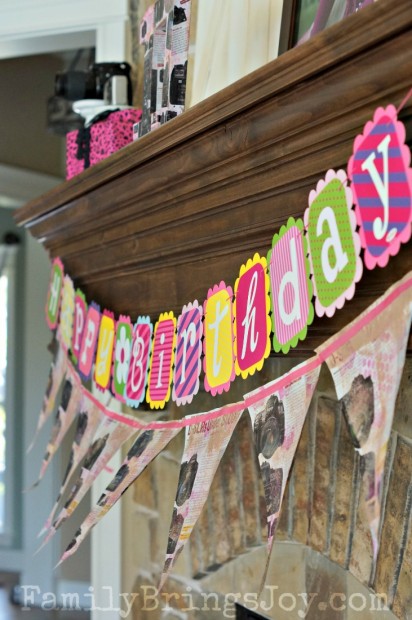
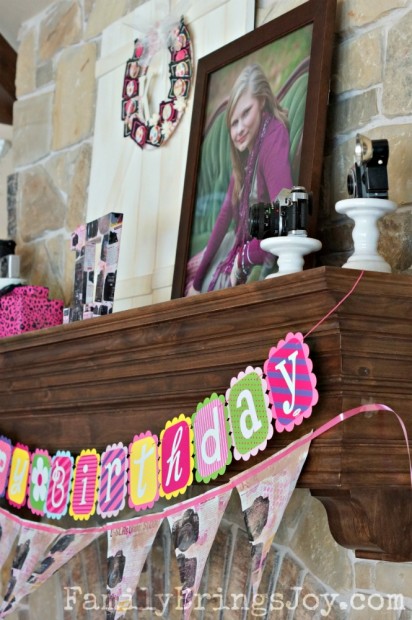
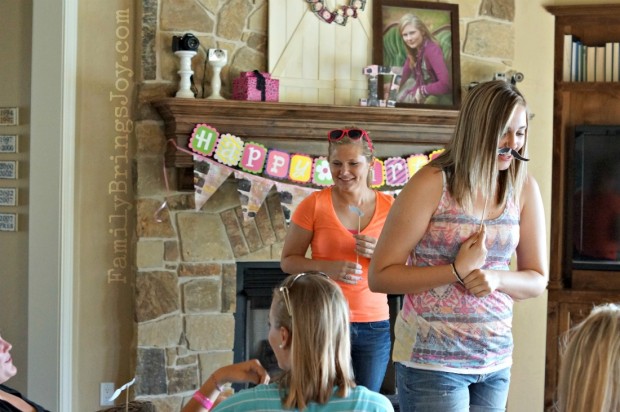
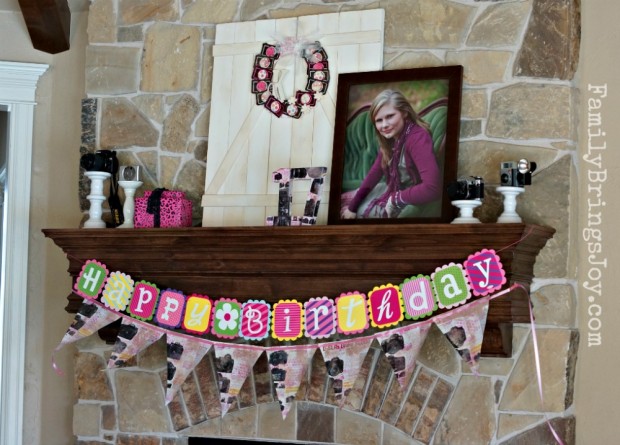
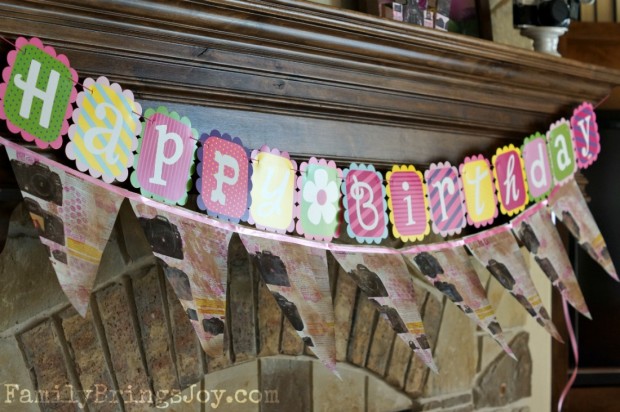
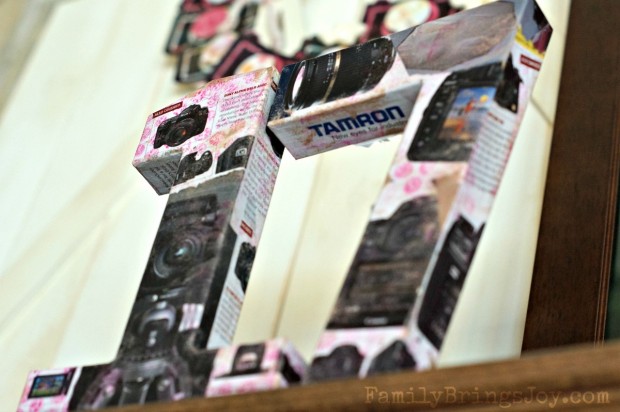
The camera banner {above} and the number 17 {below} were both made using old copies of Digital Photo magazine.

For the banner:

  • Cut the magazine pages into triangles
  • Sponged on some beige paint
  • Inked up some bubble wrap and stamped it with hot pink
  • Used a camera stamp with the same hot pink ink
  • Hot glued a pink curling ribbon to the top

For the numbers:

  • tore the magazine pages into strips
  • decorated the pages the same as the banner
  • Mod Podged/decoupaged the strips onto the cardboard 1 & 7 {bought at Hobby Lobby}
  • Added another coat of Mod Podge {matte finish} to the outside to seal

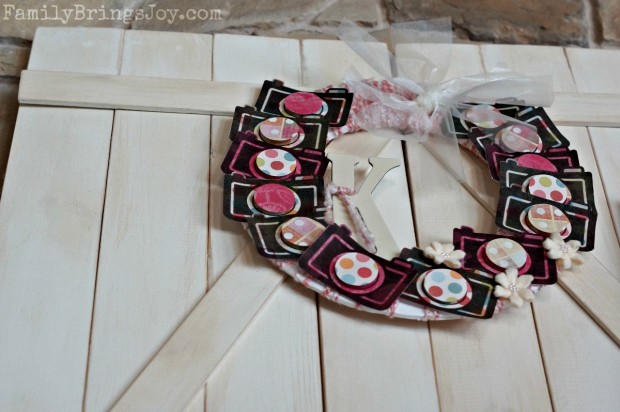
This wreath did not turn out as well as I would have liked.  But this is how I made it:

  1. I bought some foam core board at the dollar store
  2. Using a craft knife I cut out the wreath
  3. I used a small plate and a large plate as my circle templates
  4. I wrapped the wreath with some yarn
  5. Printed out these adorable cameras from Designer Clip Art onto scrapbook paper
  6. Punched out circles from the paper & adhered them to the circle part of the camera with pop out adhesive
  7. Hot glued the cameras onto the wreath
  8. Added some flower embellishments
  9. Tied some tulle to the top of the wreath to make the bow/flower
  10. Hot glued a chipboard letter onto the bottom with one strand of yarn

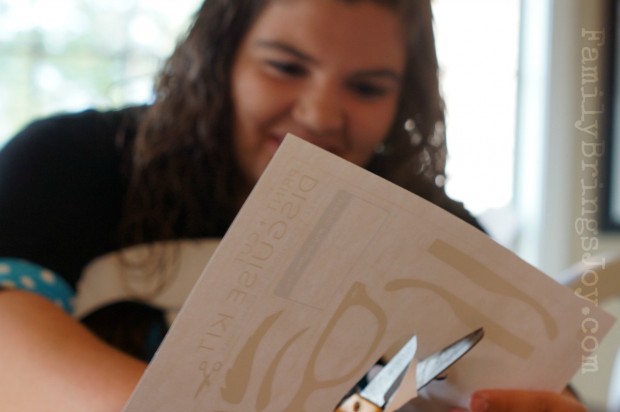
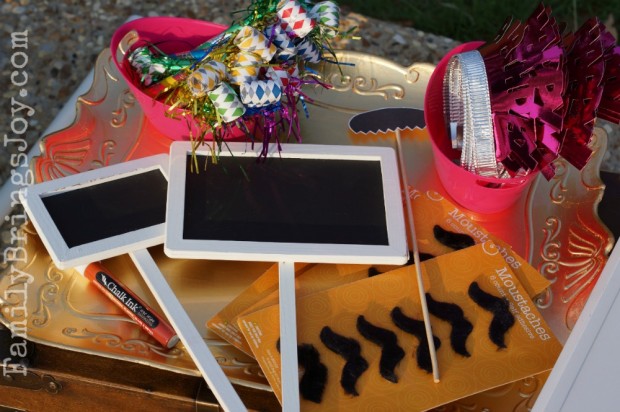
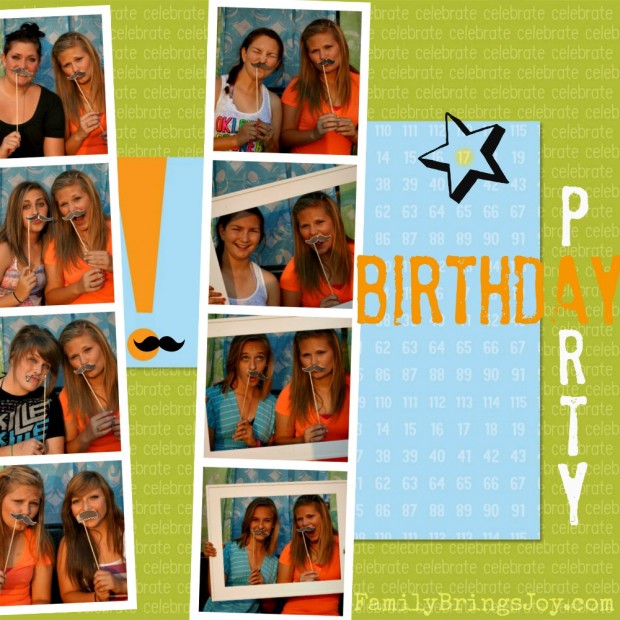
We printed out the mustaches from Design House Digital & The Project Girl’s Disguise Kit.  Taped the mustaches onto skewers.

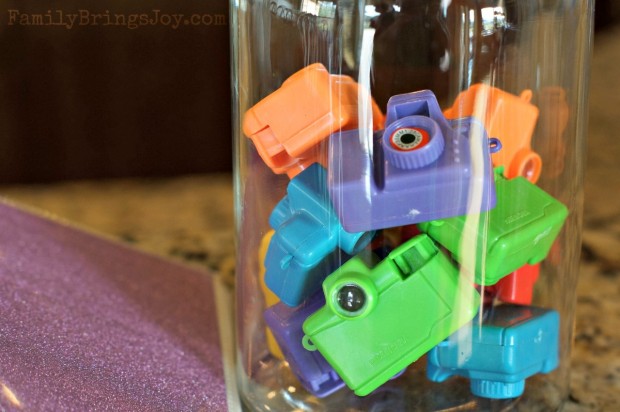
Party favors were these cute little cameras.  When you look inside, you see animals as you click.  We also bought small albums ($1 ea.) to give {that is the glitter book you see to the left of the jar.}

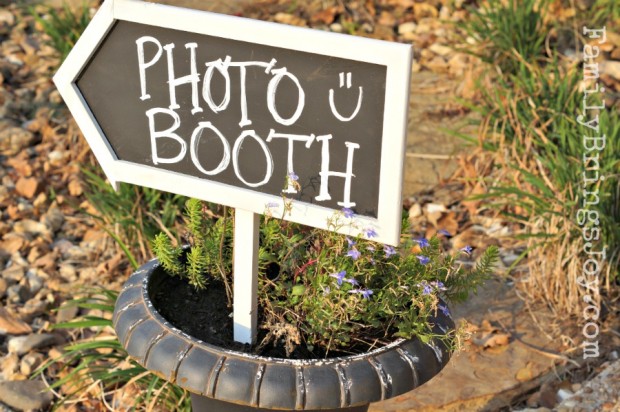
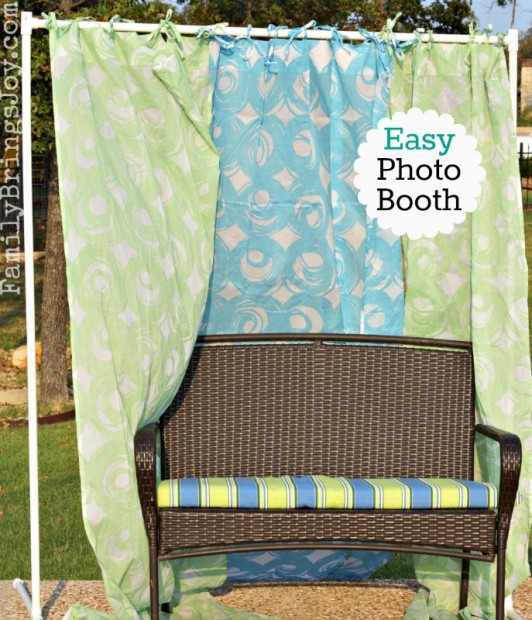
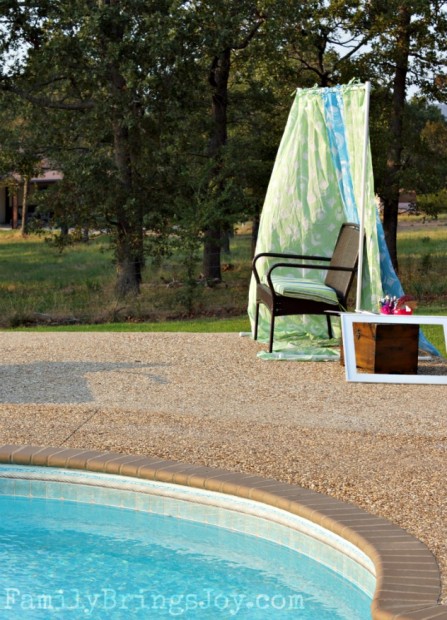
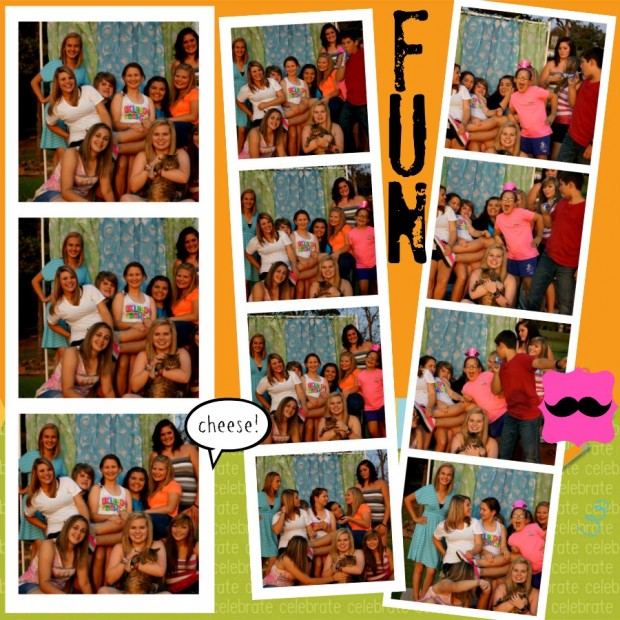
I have to give a HUGE shout out to the ladies at Paper Heart Camera.  They gave the BEST tutorial on how to make this photo booth back drop using pipe.  I decided to do this on the day of the party {Friday} and whipped it out that afternoon.  It is super EASY to make…even sawed the pipe myself.  Used some curtains I bought for super cheap at Potter Barn Outlet several years ago.  The only thing I did different was made mine 10 feet tall instead of 7 feet.  Well, the wind blew it down, so we took the top 5′ section off and used the bottom 5′ section only.

We bought the stick on mustaches at Hobby Lobby, but the girls mainly used the ones we printed out and put on sticks.

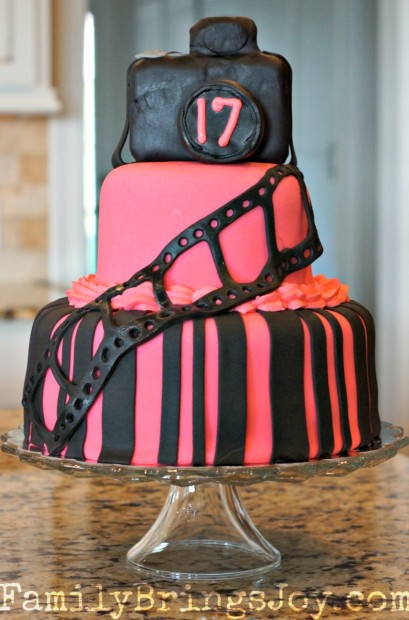
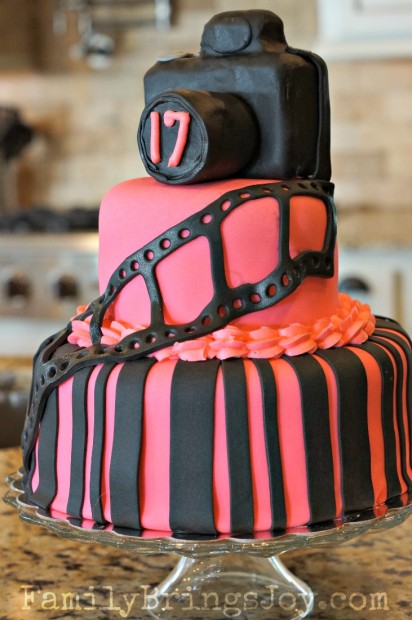
I wish I could say I made the cake, but I did not.  My friend who is a professional cake baker made this one {she has made several of the cakes I’ve featured on here.}


We had so much fun.  I tried not to think about this probably being her last friend birthday party we’ll ever have at our house. :(

It’s been a long day of photo editing.  If I forgot something, feel free to ask a question.  I have a feeling I forgot to explain something.  Going out to dinner with the family now since today is my Daughter’s actual Birthday.

Happy 17th Birthday to our first born,