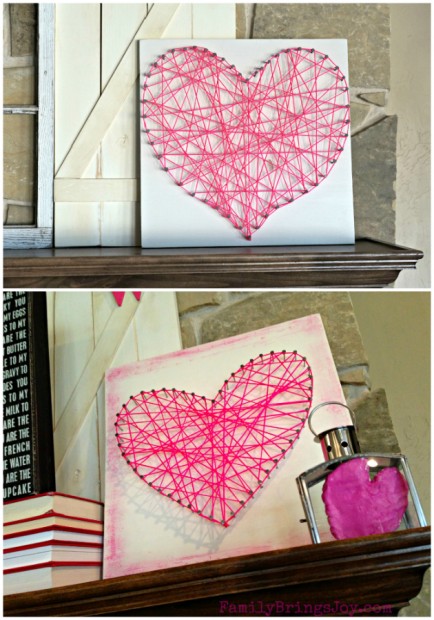
 Today I am ecstatic to share with you my latest creation. I call it a Stringed Heart Sculpture. I was blessed with the opportunity to teach this craft at a local boutique on Saturday.
Supplies you’ll need:
– wood. I used 16″ x 16″
– paint.
– string. I used hot pink braided mason line from Lowe’s.
– nails. I used box nails size 4D x 1 1/2
– painters tape.
Instructions:
1. Paint the board. On the second heart I added a border by mixing pink paint and Annie Sloan’s Clear Wax.
2. Cut out a heart the size you want.
3. Tape it where you want it on the board.
4. Add dots onto the paper heart where you want your nails to go.

5. Hammer nails onto dots.
6. Gently tear off paper and tape.
7. Tie a knot with the string on the bottom nail. Wrap the string around each nail to outline the heart.
8. Cross over to other nails however you want. Wrap around each nail again until all nails have been wrapped around at least once or as much as you want. Be creative, there is no pattern.
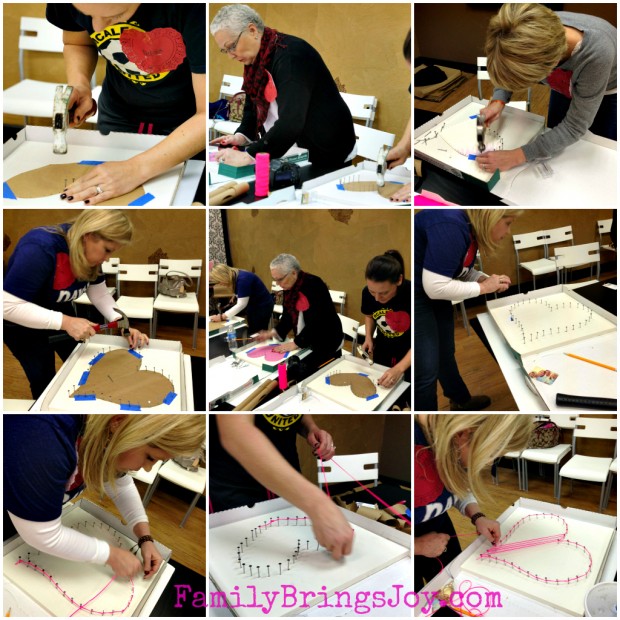
Here are some photos from the class:

Some class members did smaller hearts. There were a few who placed the hearts at an angle as well.

The long haired blonde you see above was very creative and strung hers in a striped fashion. I was glad to find out she was an art teacher AFTER the class was over. Not one sculpture looked like another. That’s what I love about this. Everyone’s was unique!

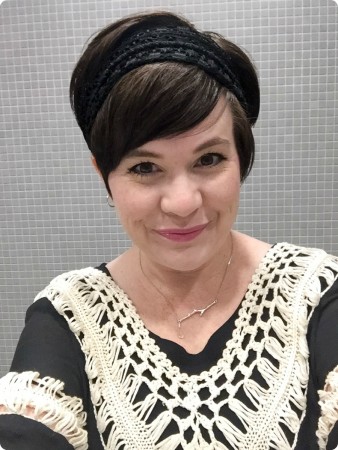
The short haired blonde you see above with me is the very sweet lady who invited me to teach this class at her boutique. She is also my professional photographer who has taken our family’s portraits for 6 years. We are planning on holding one adult and one kids craft class every month. I am so grateful for this opportunity. I look forward to meeting and making new friends while creating together.
Idea credit: Green Wedding Shoes
Crafts bring joy,


Very generous of you, Daughter, to post the tutorial on the blog too. I am so happy for you to get to share your creative juices with others. I know it must be very fulfilling for you as well as them.