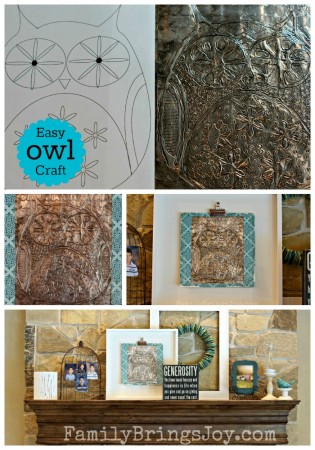

I’m very excited to share this super cute and easy owl craft.
Supplies You Will Need:

You’ll also need cotton swabs {q-tips} & black shoe polish
1. Draw or choose an owl {or anything you want to create.} We found our owls here.
2. Tape your owl to some card board or chip board. The card board/chip board helps form the indentions for a later step.
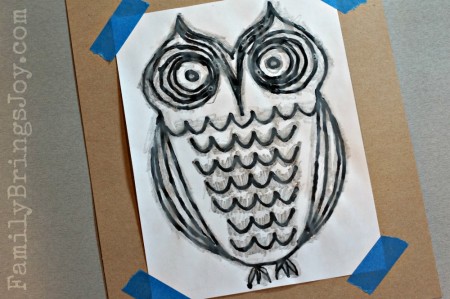
This is my Daughter’s owl in progress
3. Cover the lines with white glue. I think the tacky glue would work better but ours was too thick {old} so we used what we had on hand…regular white glue.
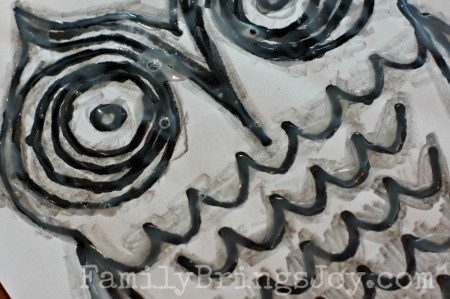
Looks like this after the glue dries
Tip: Let dry a full 24 hours
4. After the glue has dried completely, cover the entire owl page with stick glue.
5. Add foil.
6. Press and smooth.
7. Use a cotton swab to go around the hard glue lines.
8. Use a blunt pencil to accentuate the lines by following around the hard glue lines.
9. With a blunt pencil add design to the blank spaces. This is why you need the card board…to help create the indentions. I made swirls, circles and lines.
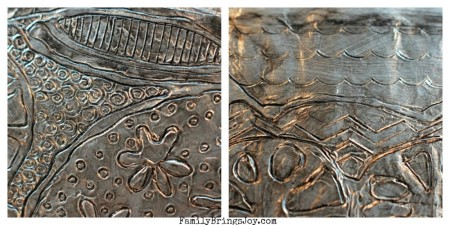
10. Add black shoe polish and immediately wipe with an old cloth.
Tip: The shoe polish dries fast!
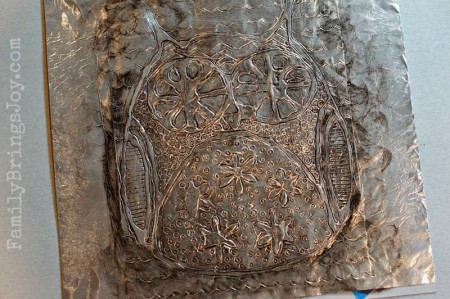
Can you believe this is made out of glue, foil and black shoe polish? I wouldn’t believe it if I hadn’t done it myself. It’s like magic! There are endless possibilities to using this craft. I love how this turned out! What do you think?
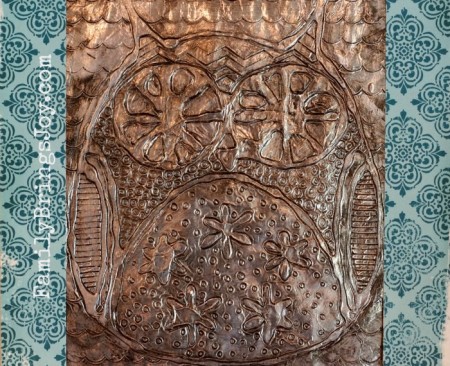
I cut the owl down and added a piece of pretty scrapbook paper to it.

I had the perfect shadow box for my new piece of art I bought from Ikea.

Voila! My shadow box is highlighted on my pre-Fall mantel {I’m not ready for the orange & fall colors yet.}
I learned how to do this via Make It… a Wonderful Life. This art teacher gives a wonderful tutorial. I decided I would give my own tips and tricks to this craft from doing it myself. She begins her tutorial by teaching you how to transfer a drawing to card board. I was happy to learn how to do this without using carbon paper. We tried it, but it didn’t work for us. ![]() So I skipped the transfer step {in case you were wondering why there was pencil shading over the drawing.}
So I skipped the transfer step {in case you were wondering why there was pencil shading over the drawing.}
Display & Enjoy Your Creations,





Such an original & cute idea!
gina valley recently posted..Freedom To Sound Stupid: An Inalienable Right
Thank you sweet Gina…I can’t take all the credit as I got the idea from the website listed above.
Hi Shan. Wow this is definitely nice one. I actually love travelling and I am one of those people who loves crafts and anything that is pleasant to eyes. Next time I will come to Australia soon and I am looking forward to seeing some crafts there too. Love these ideas you have here!
Hi! I’m glad to see your artwork! You said the transfer method didn’t work for you- tell me what happened, and I’ll see if I can help you make it work next time.
And thank you for linking back to my tutorial. My students love hearing that their artwork has inspired others!