 First up, you’ll need a template. Click here to print your template on card stock. If you missed yesterday’s post with photos of wreaths, you can see them at the end of this post.
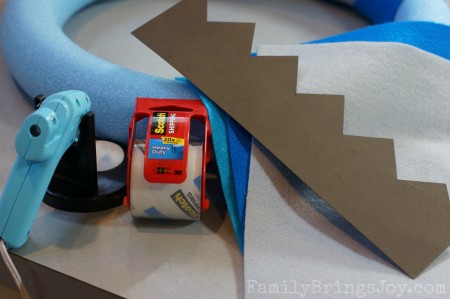
Here are the supplies you’ll need:
- pool noodle and heavy duty shipping tape to make the wreath form
- scissors (not shown in photo)
- felt sheets of however many colors you want (see below for how many)
- hot glue gun
- above template
I decided to make a tutorial video for this. There are 3 parts or 3 videos to the tutorial. Here’s my disclaimer…It was me, my camera and tripod. Unfortunately, there will be times where you might not see what I’m referring to {mainly in part 2.} Please don’t hold that against me. 😉 Hopefully you’ll still be able to understand.
If you don’t glue the chevron pieces too close together you will need 4 sheets of felt of 2 colors {total of 8 sheets, 4 of each color} and 3 sheets of felt for 3 colors {total of 9 sheets, 3 of each color.} If you like the chevron pieces to not be spaced out as much, then you will need to cut more pieces. The tracing and cutting process is what takes the longest. I allotted an hour for this class but should have allotted at least an hour and a half or maybe two hours.

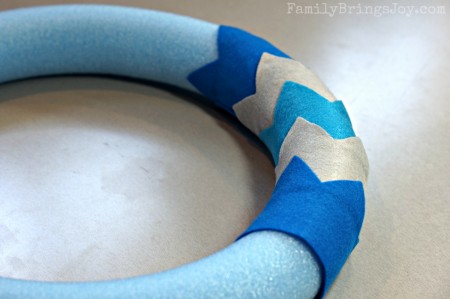
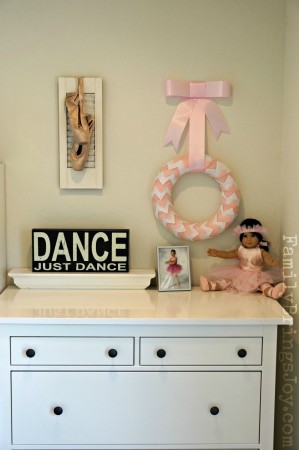
Again, here are my chevron wreaths finished hung up in our home:
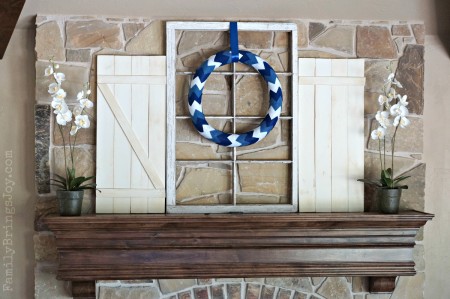
Tomorrow I’m sharing photos from the class with all the different wreaths everyone made. They turned out super cute! Thanks for joining me for this tutorial. I hope you have fun making one. Let me know if you have any questions. I’m off to pick up kids from school. Have a beautiful day!
Beautify for less,


I just love these! Thanks for the tutorial and videos! Awesome!
Brandy
This is fantastic! I would love to make several of these for different holidays – so cute! Thanks! – Morgan
http://www.makeshiftmargaritas.blogspot.com